
The next book in the series is the Gothic Binding. The others in this series are: a Nag Hammadi codex, a late Coptic binding, a limp vellum binding, an alla rustic binding, a limp leather binding, scrolls, a field journal, and a wax tablet.
The Gothic was our most involved binding so far, and took quite longer than the others but I really liked how it turned out!
This style of binding emerged around the 14th century and trickled off in the 17th. It could be bound in full leather, however for economical reasons by the late 15th and 16th century we commonly see quarter bindings. Alum tawed or leather was a common cover material.
This model has alum tawed skin for the spine and quartersawn oak boards. The boards are beveled to fit the text block at the spine and beveled on the head, tail, and foreedge to create a square that meets the edge of the textblock.
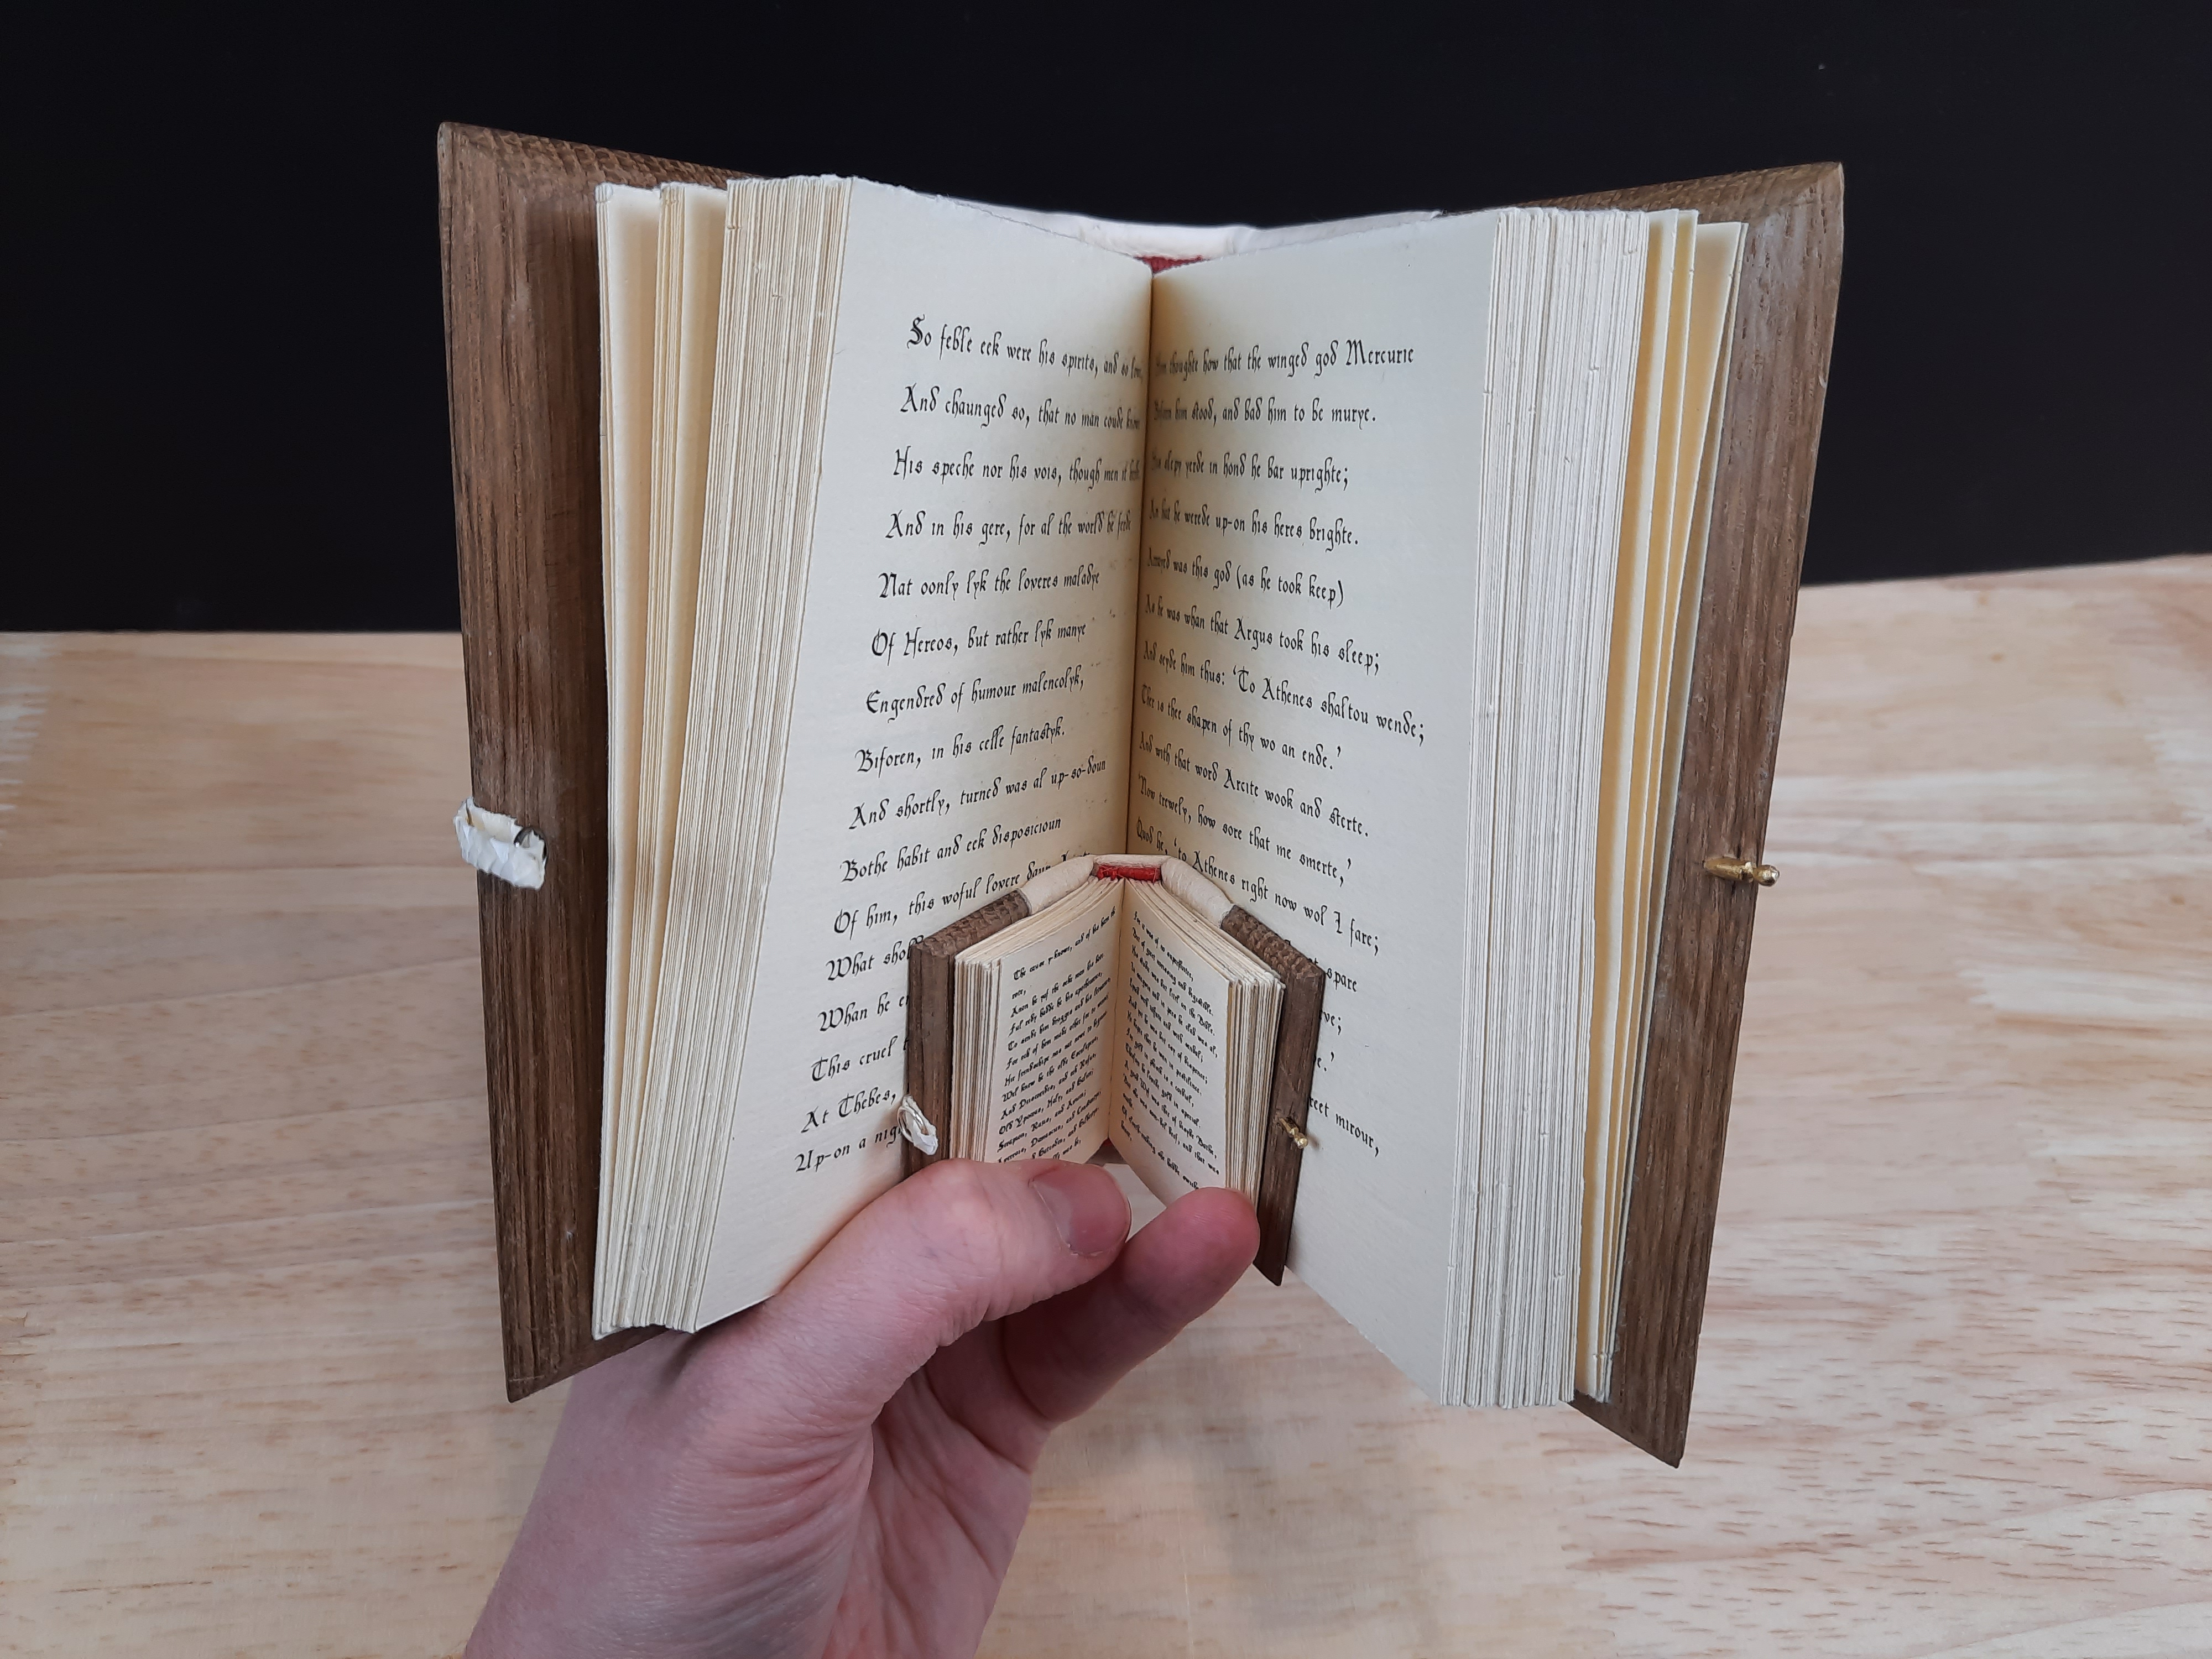
We used Frankfurt paper by Zerkall. The text printed is the prologue and knight’s tale from the Canterbury Tales (just the prologue for the small book). The font is Bastarda, a Gothic script that was used in the 14th and 15th centuries.
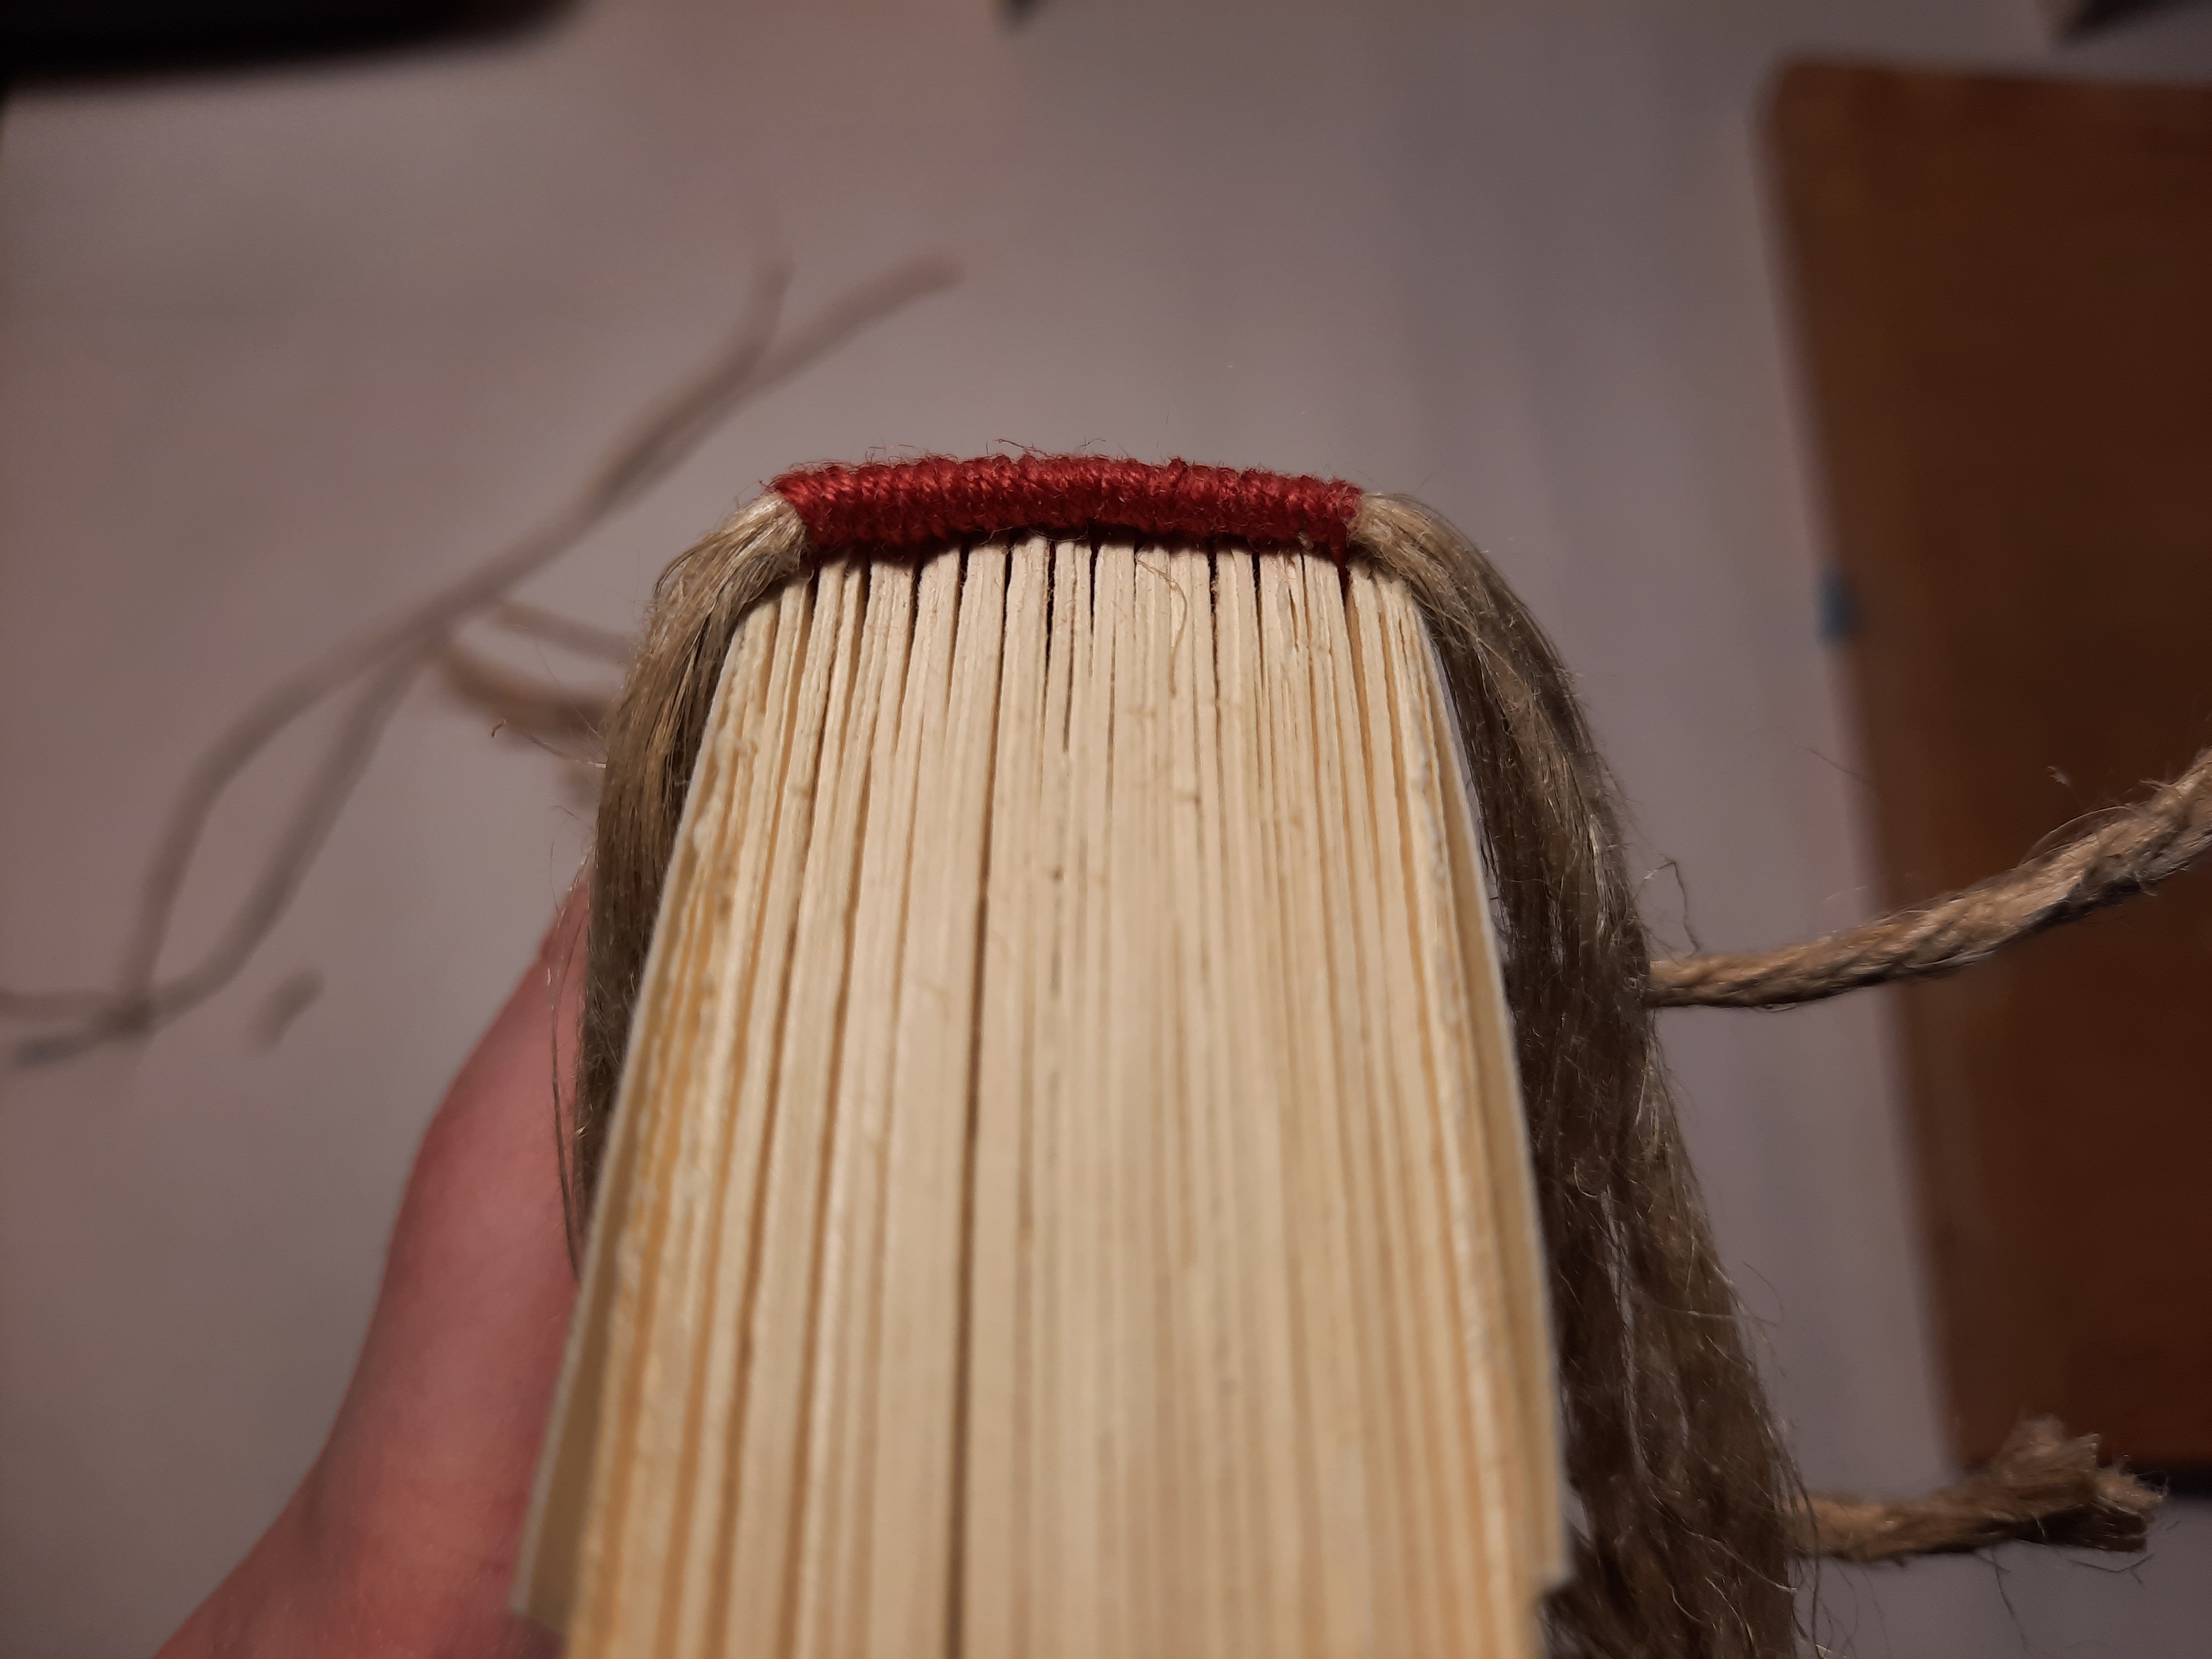
Let’s take a look at how it’s made! To begin we sewed the signatures together, this binding was sewn on double raised cords.

We then sewed on the endbands, a simple foundation endband with red linen thread.

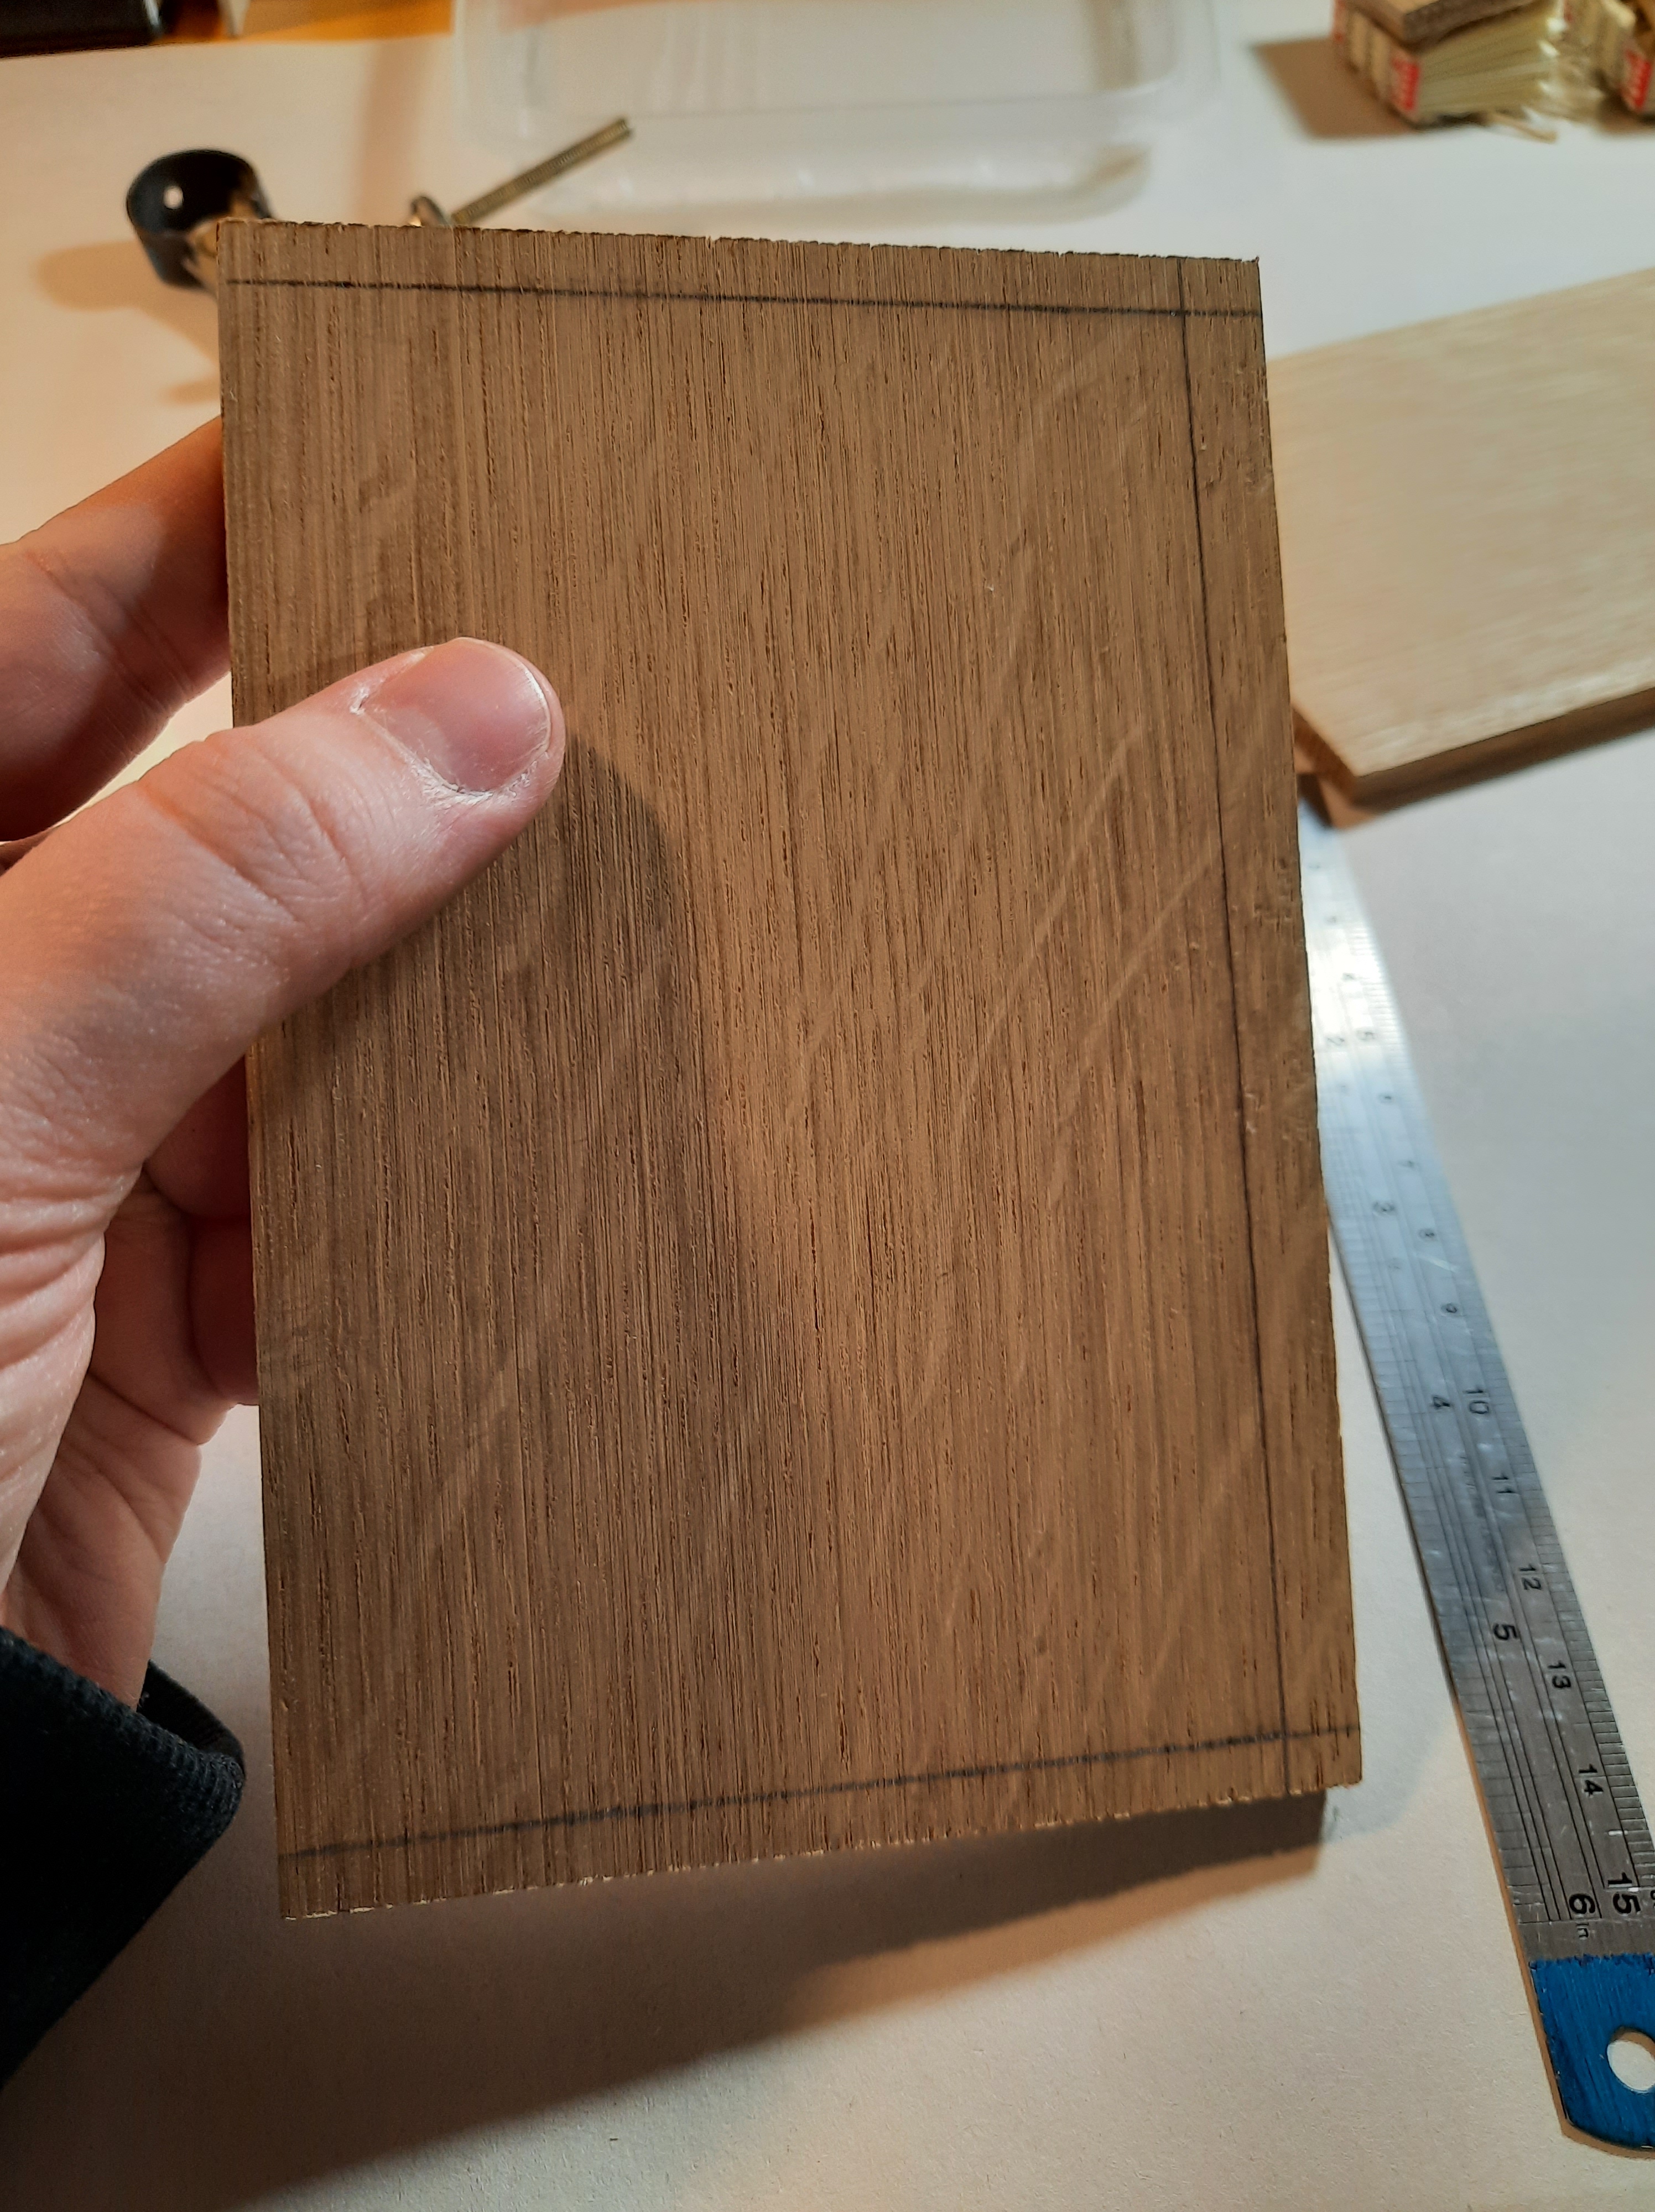
Once the textblocks were sewn, it was time to work on the covers, as I mentioned above the covers are made from quatersawn oak. The Gothic binding is when everything beings to take shape — earlier bindings were still very chunky. These bindings are sanded and shaped to perfectly fit their textblock. Everything is in relation to each other, so it took time!
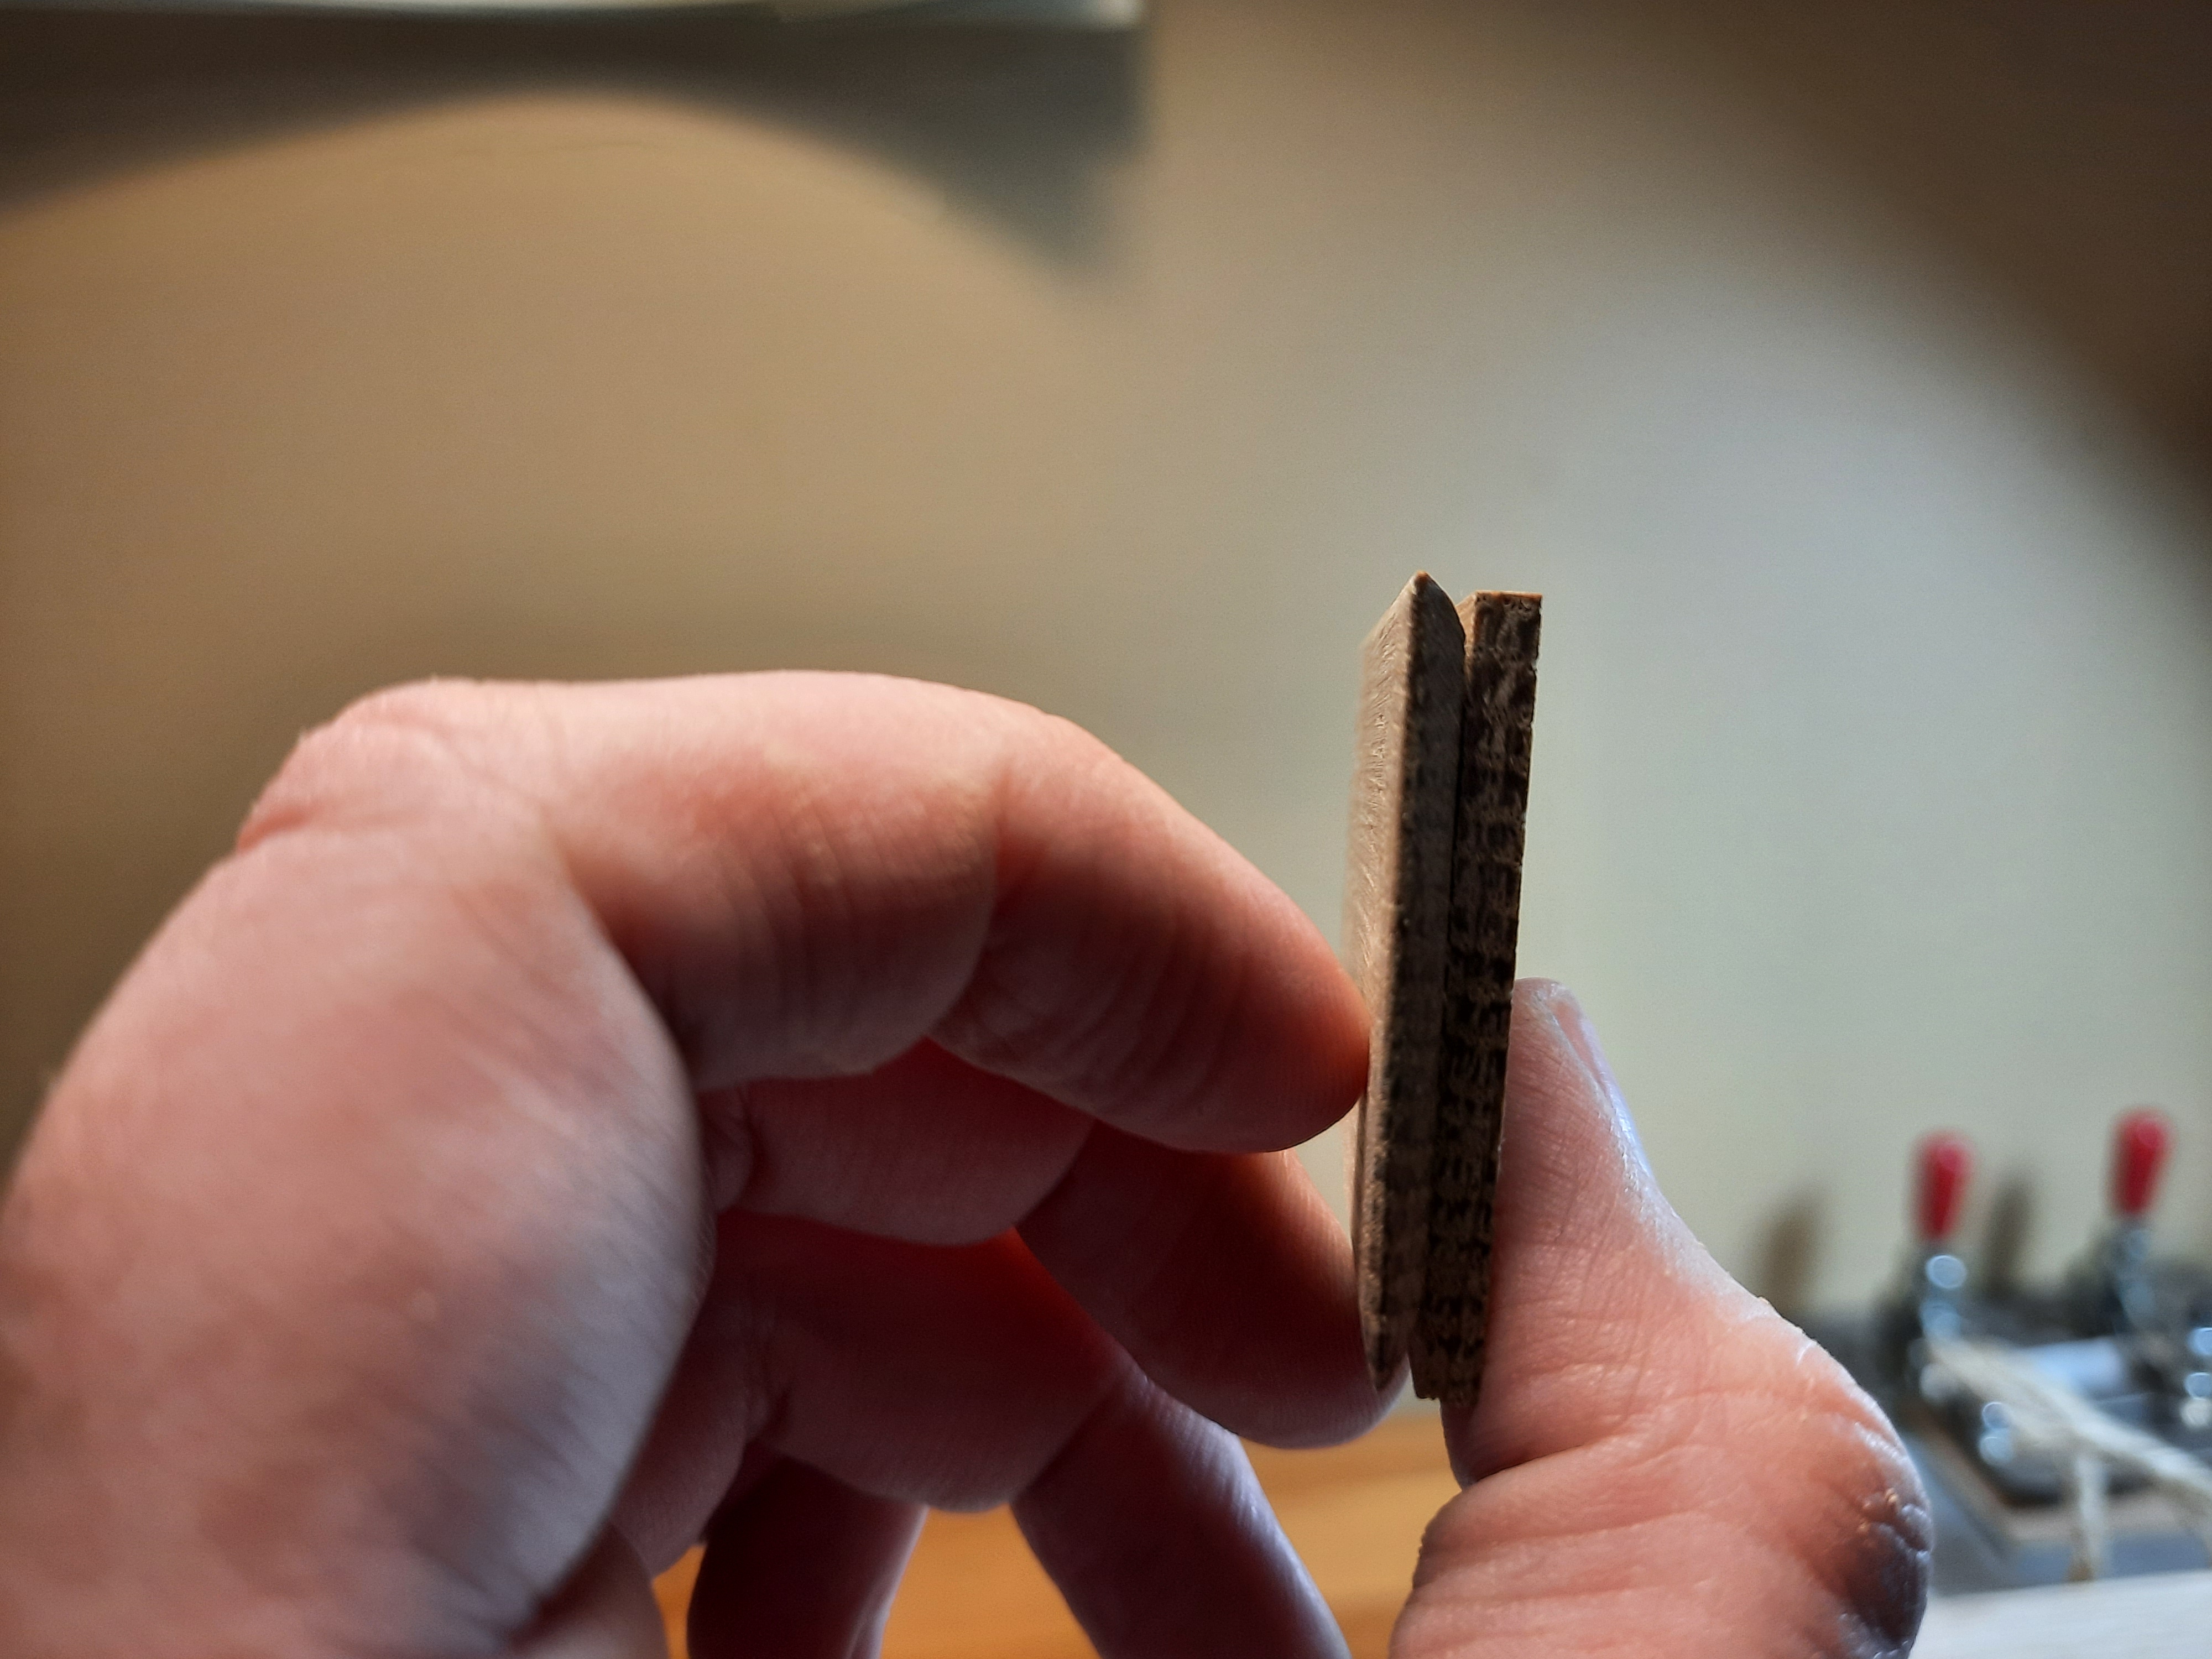
Below you can see the process, we used a rasp to get the edges beveled, three edges are beveled quite steep to the edge of the textblock, while the spine edge is rounded to mimic a signature so that it fits perfectly with the textblock when laced in.

Once the boards were shaped, which took quite some time as this was very new to me, it was time to create the holes and channels for lacing.

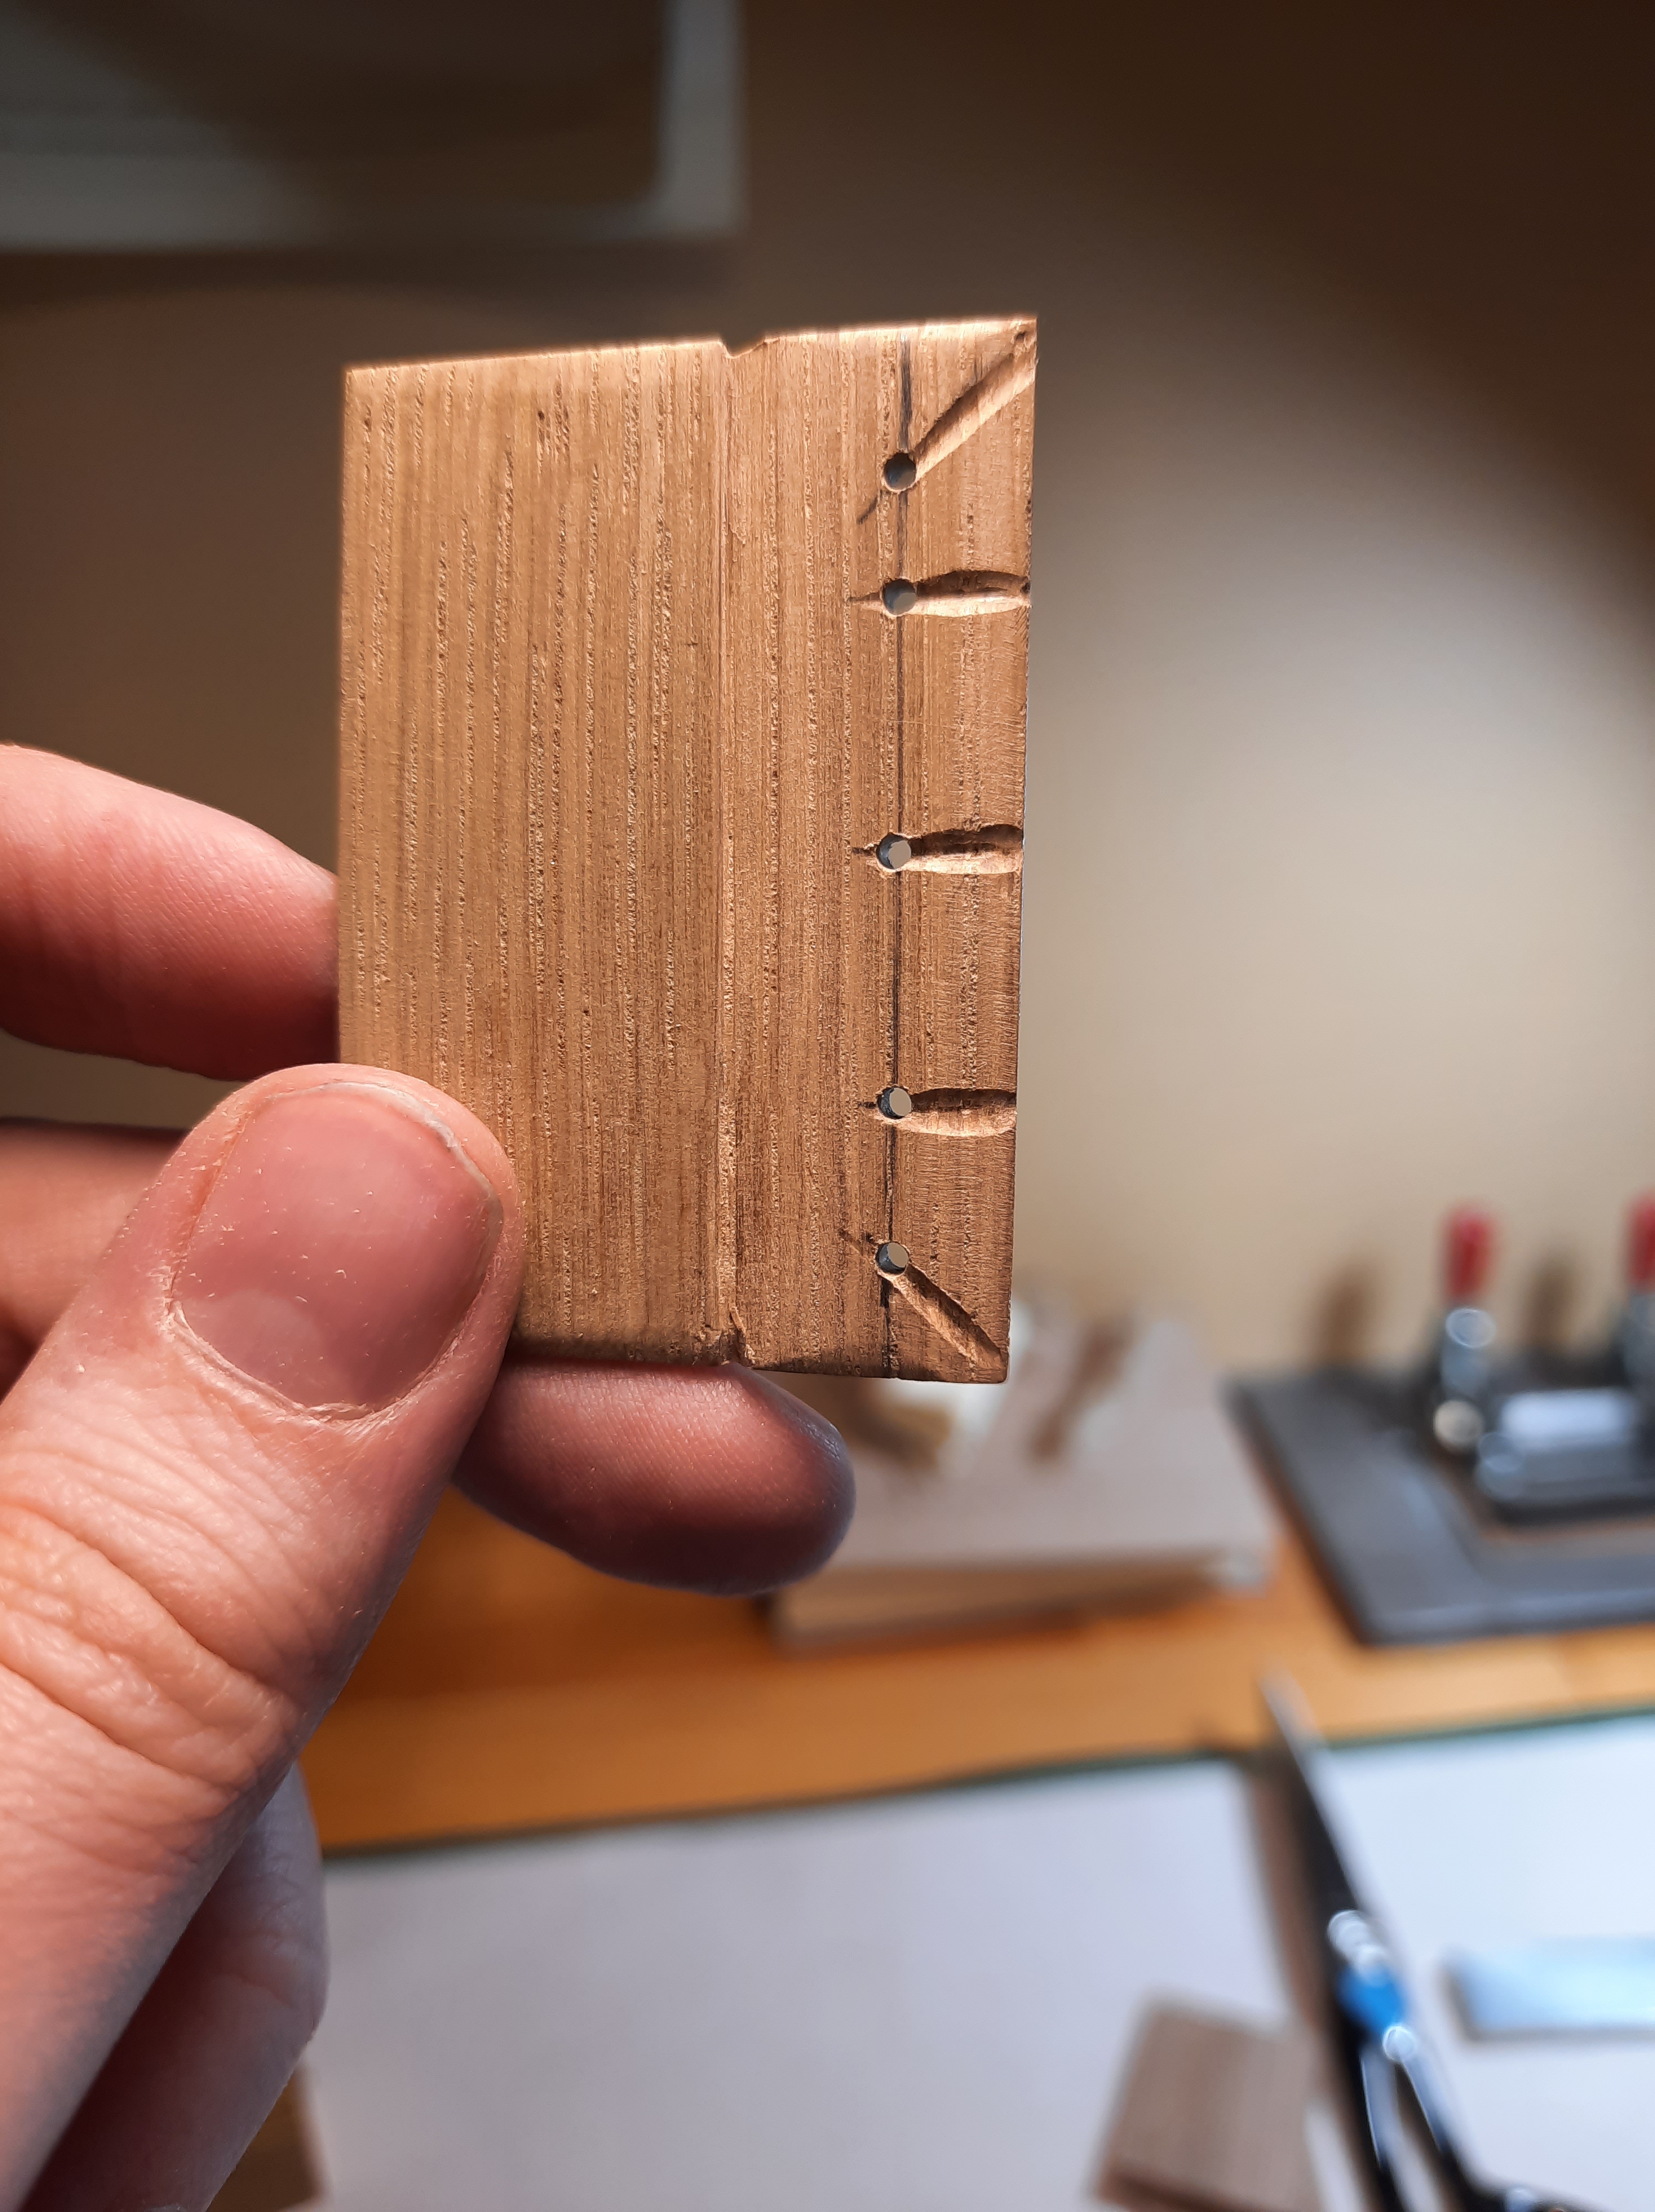

You can see in the pictures above, there is also a goove that runs along the front of the board — this is to accommodate the tawed so that when it goes down on the wood everything is the same thickness. Next we laced in the boards and pegged the holes.

Once the boards were attached it was time to work on adding the alum tawed to the spine and tie it up to dry!


The book is nearly complete now. We just needed to add a clasp. We decided to do a little brass beg and vellum braid, as working with brass to make clasps is a whole other skill to learn! We are toying with working with brass for our Romanesque binding but a simple vellum braid suits this binding and it looks nice.

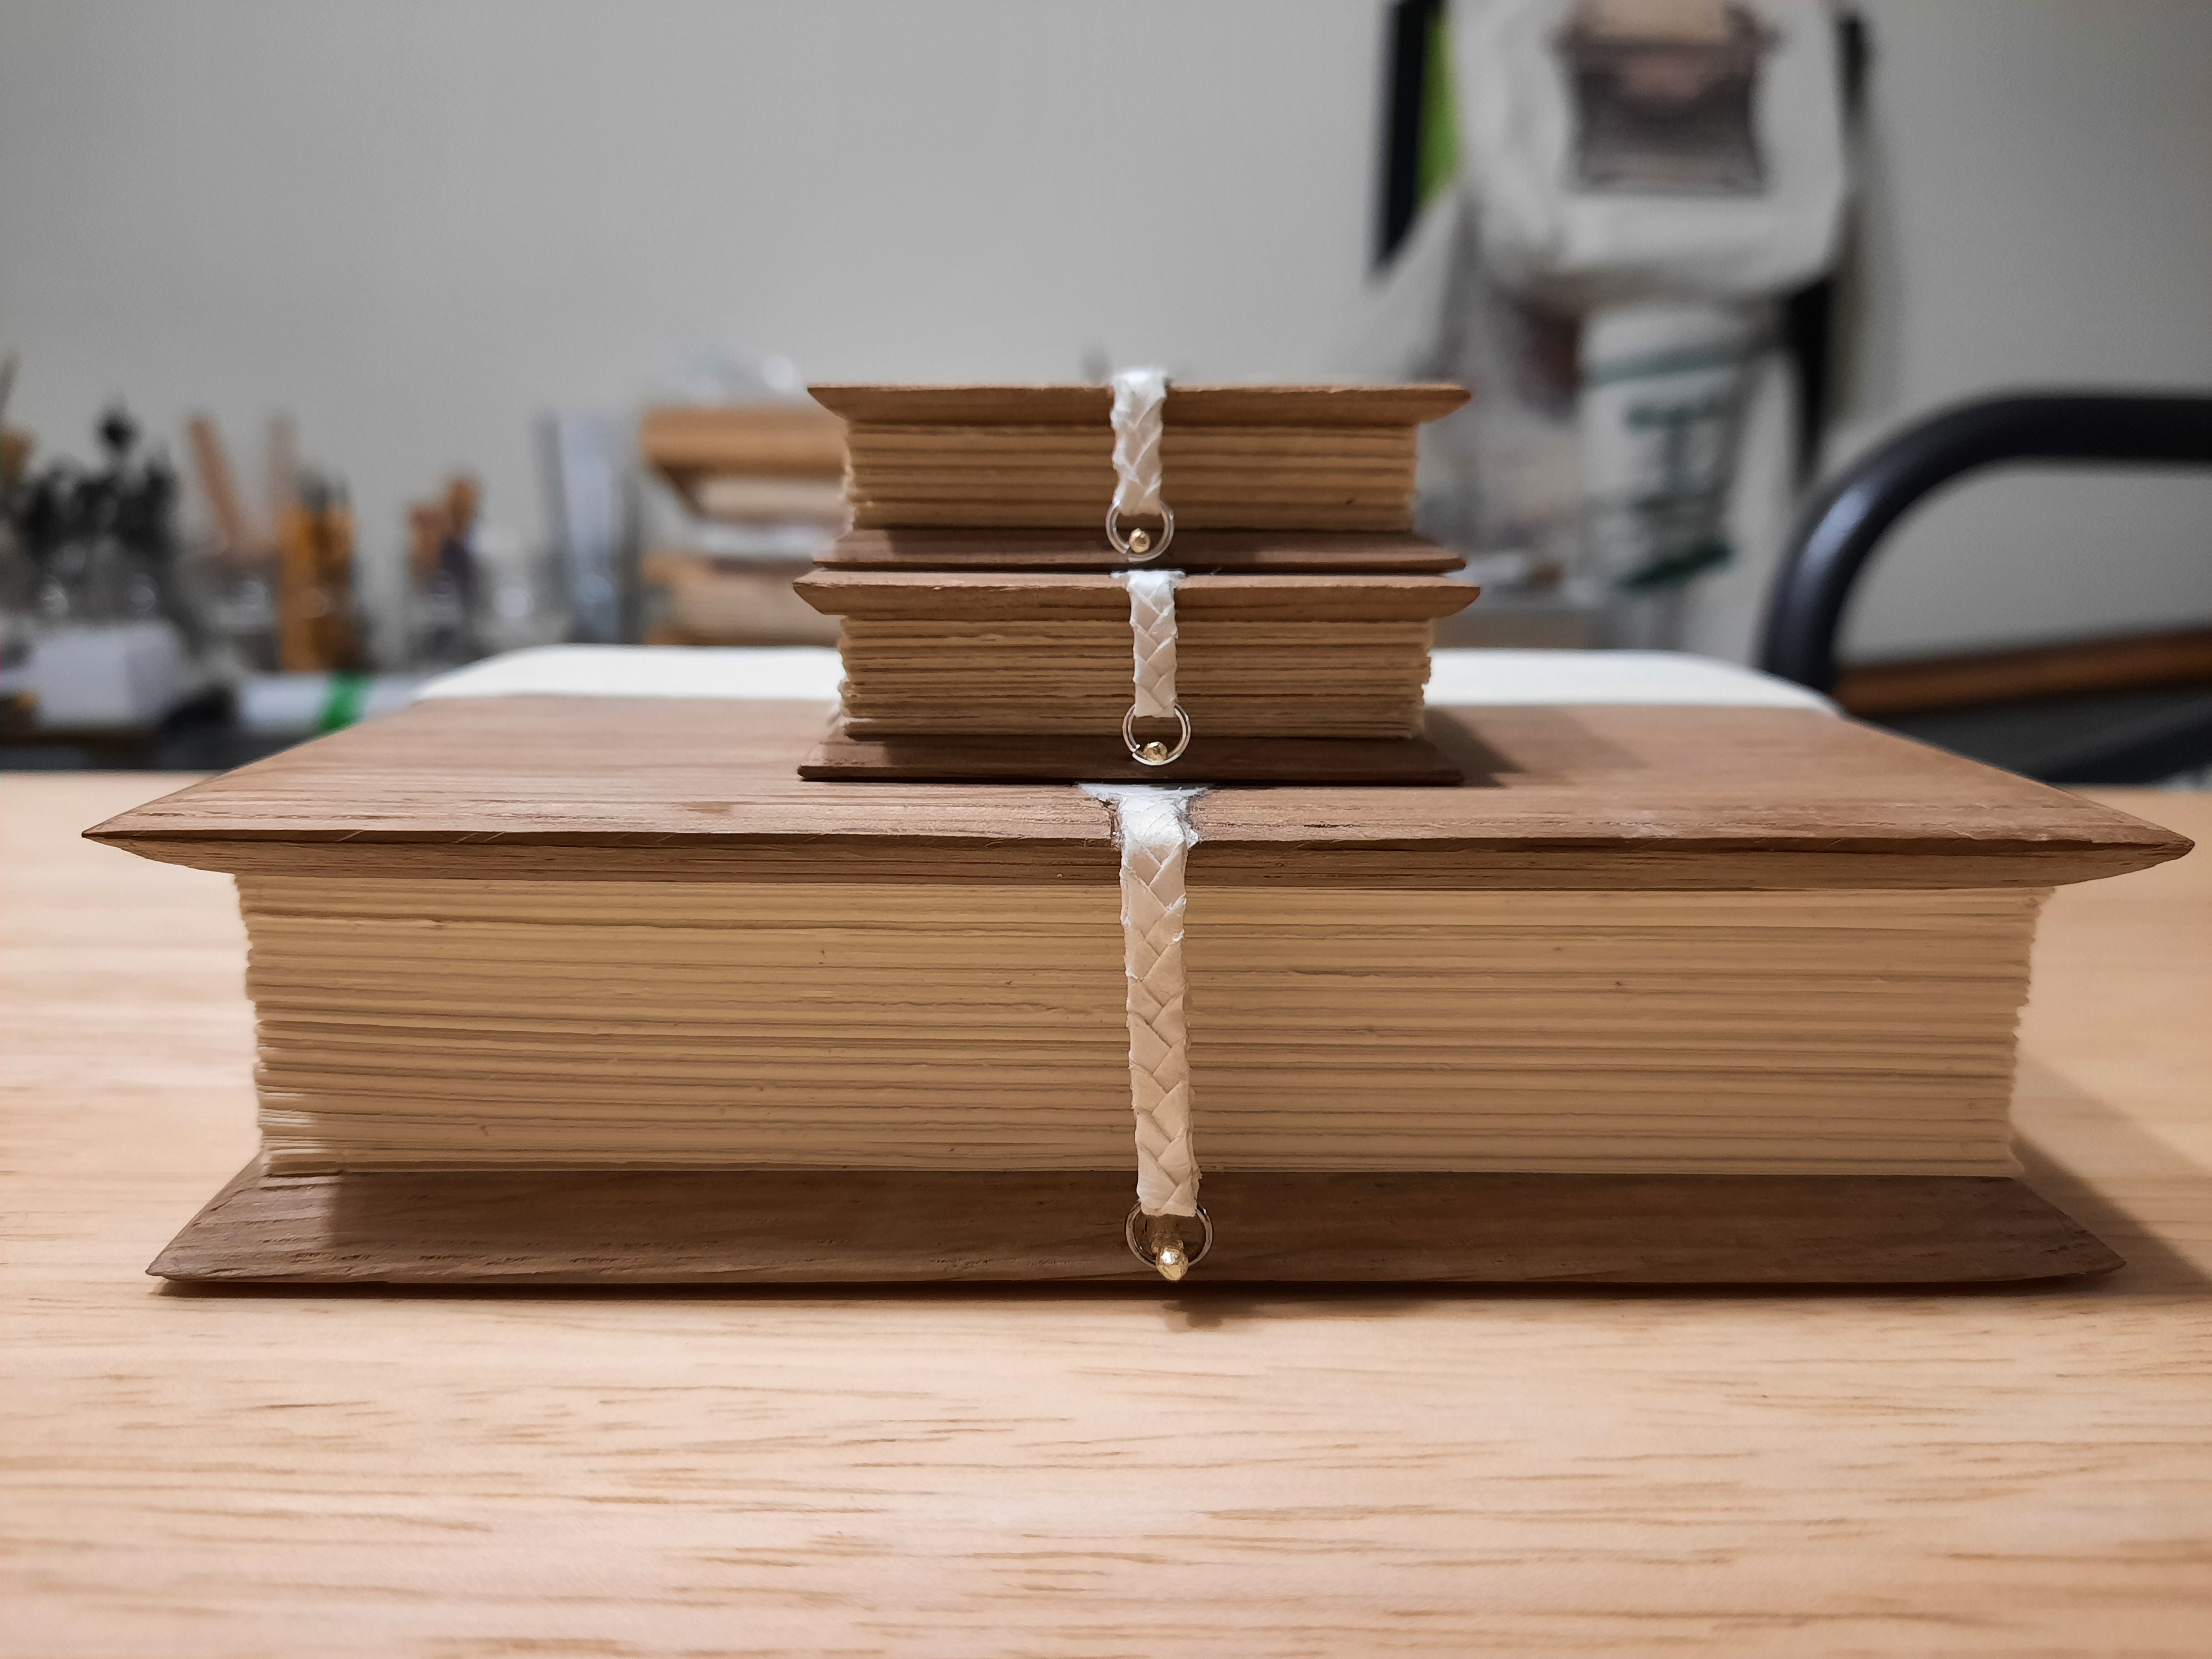
Finally the Gothic binding was complete! Here are some pictures of the finished binding:


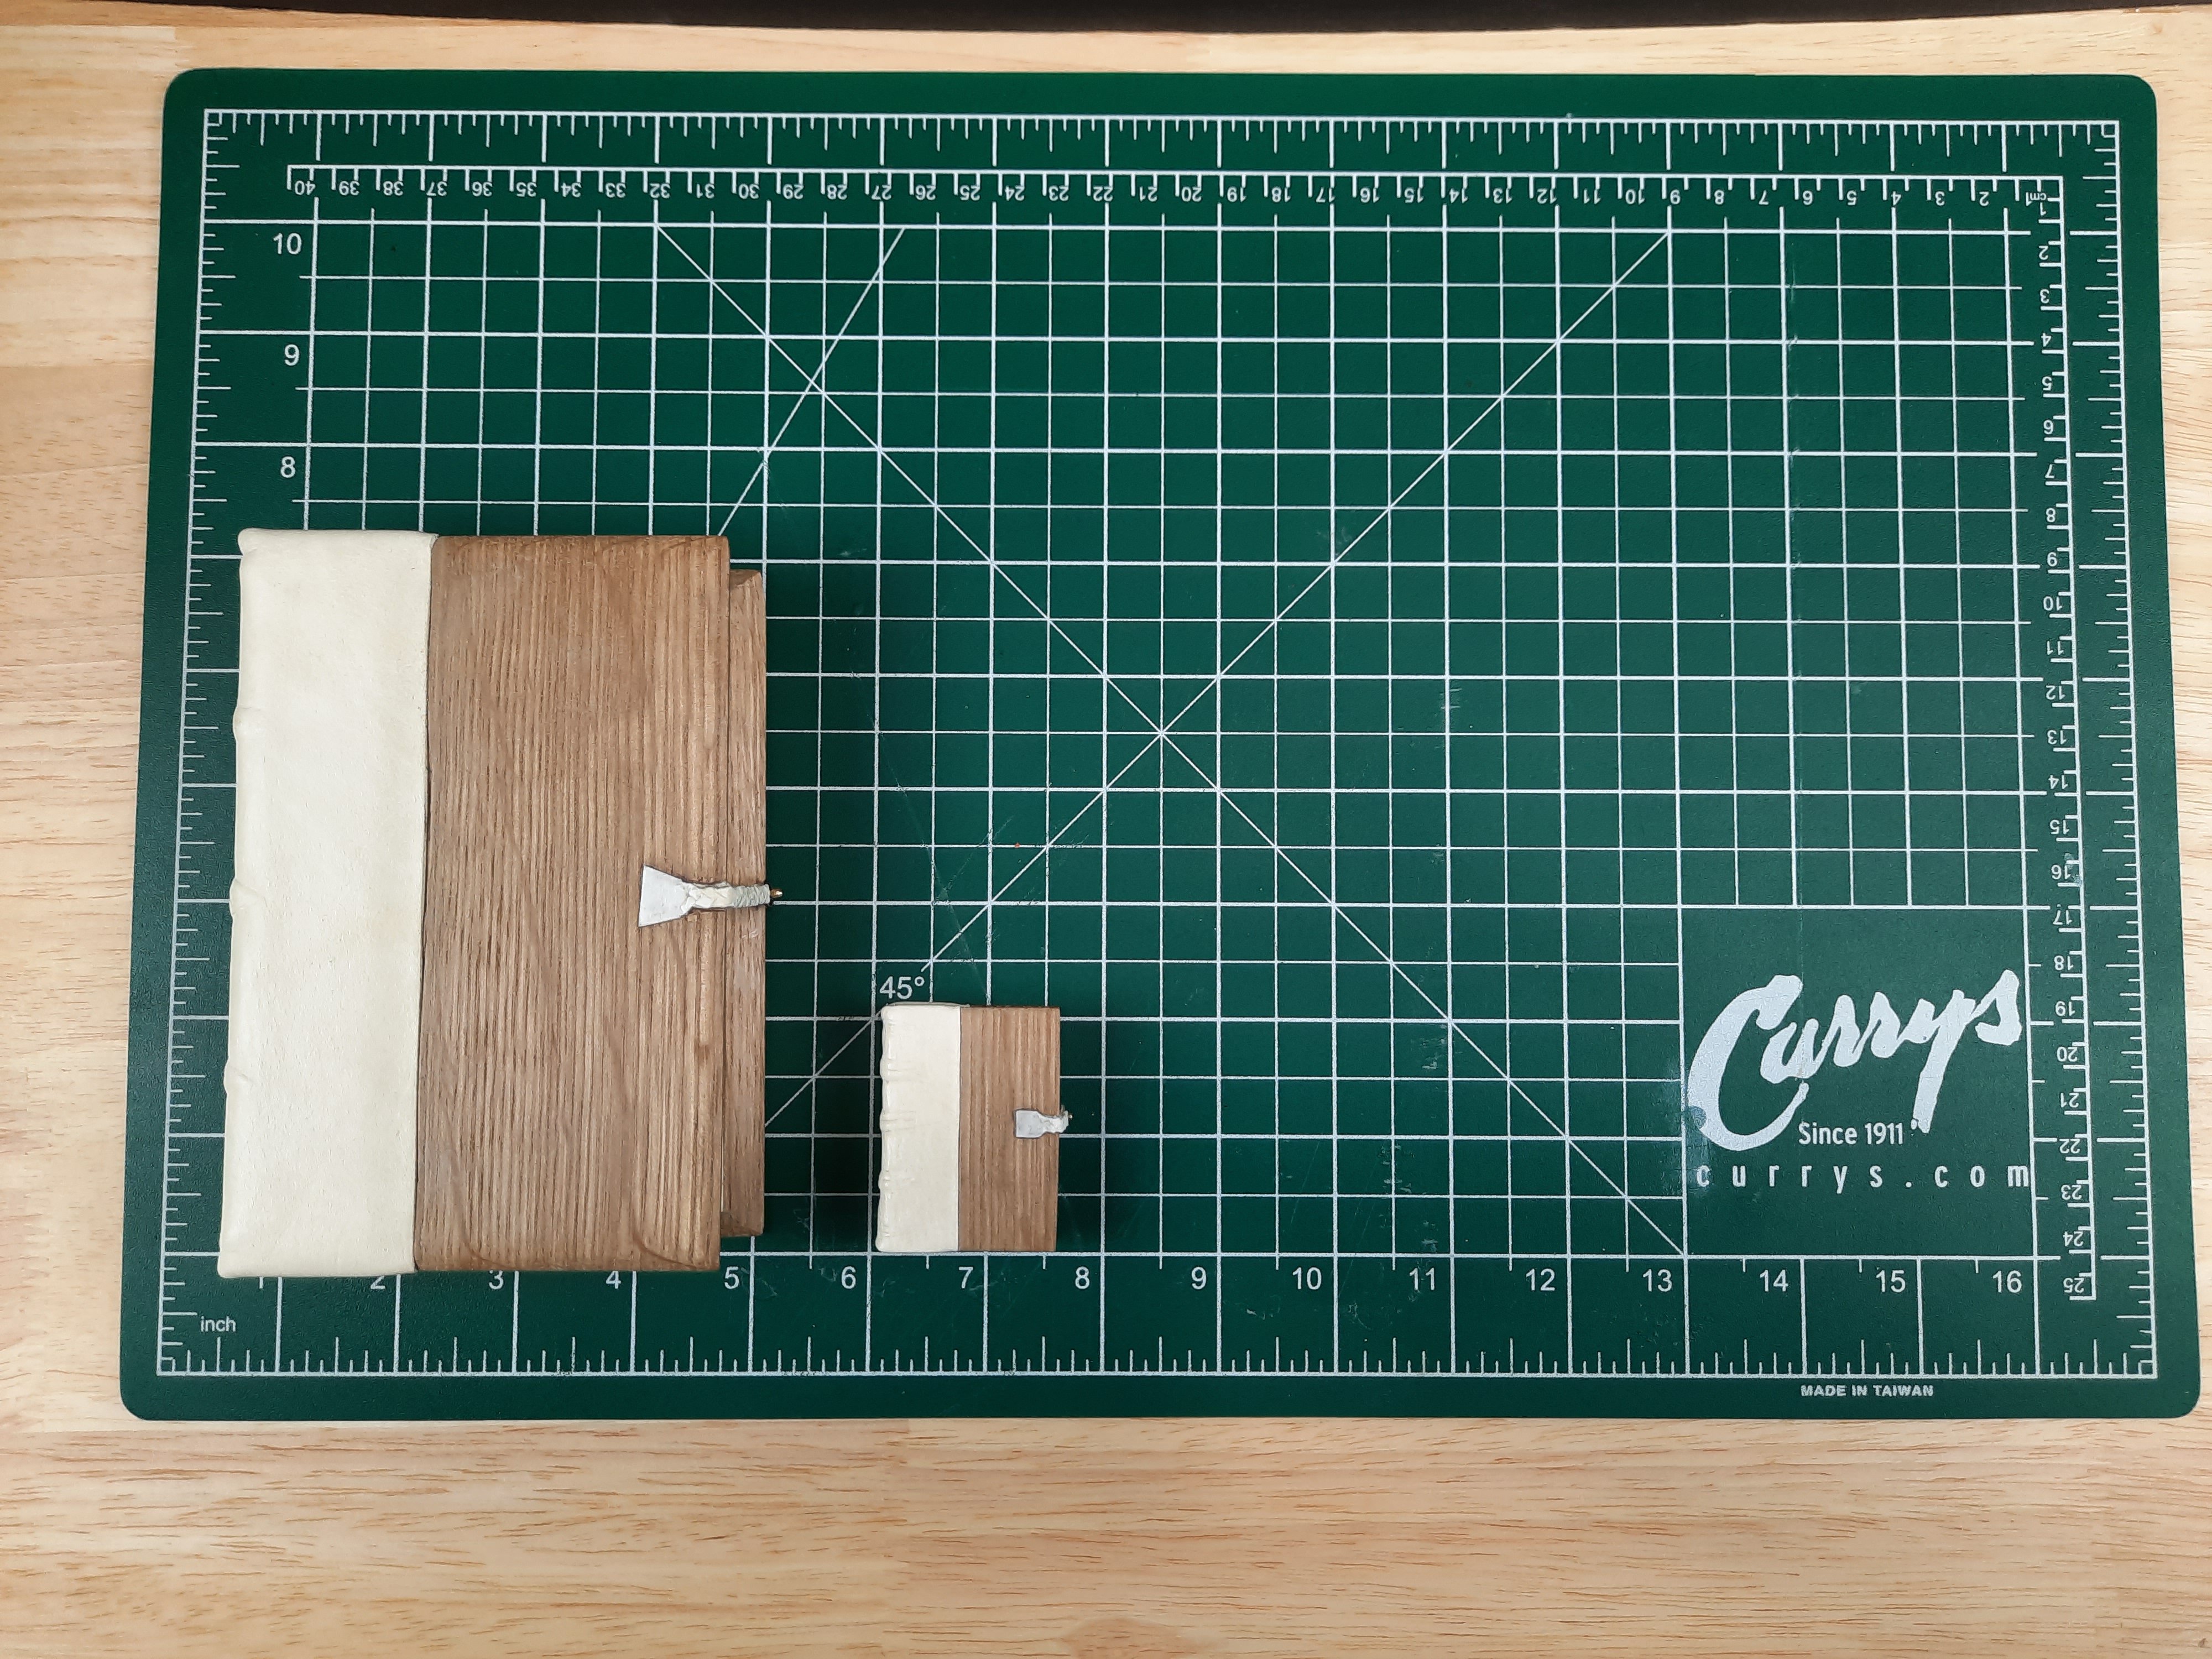

Our collection of models is growing! We’ve been at this for a year now and nearly done our core set. After this binding we started working on the Romanesque which is nearly done. Once the Romanesque is done we’re taking a break from wooden boards to do something easier and we will do a Cambridge Panel before moving on to the Carolingian.
Here a peek at all the miniatures together:


Until next time,

