
The next “book” in the series is the wax tablet. The others in this series are: a Nag Hammadi codex, a late Coptic binding, a limp vellum binding, an alla rustic binding, a limp leather binding, scrolls, and the field journal.
The wax tablet was an adventure in woodworking skills (of which I have very little but certainly need for many of our upcoming medieval books)!
While scrolls were very prominent in Egypt, at the same time the Greeks and Romans were using tablets. There is evidence of wooden tablets dating back to the 14th century B.C.E. Tablets were in use until the 5th and 6th centuries A.D. For longer texts they used the scroll but for informal notebooks, such as a school notebooks, and for witness testimonies, they used tablets. These are really the precursor to the codex. A caudex (Latin for a block of wood is where we get the term codex from) was a number of wooden tablets fastened together. Also called a tabulae.
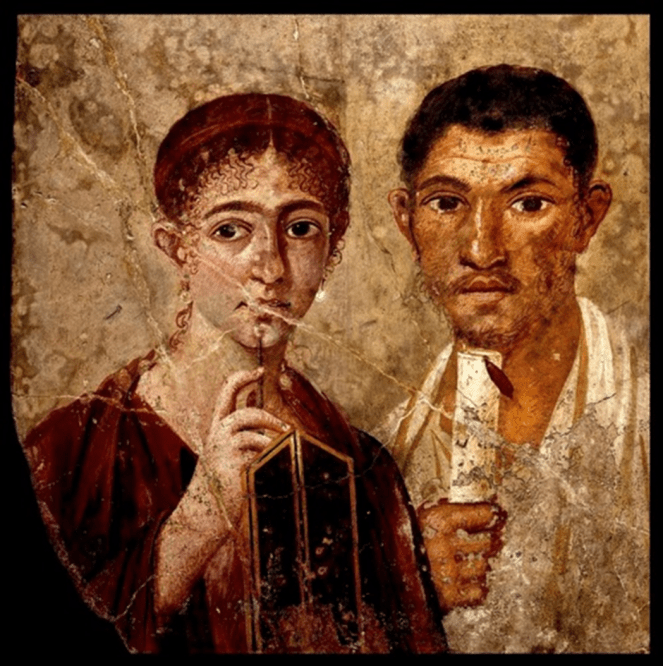
To the right is a portrait of a baker, Terentius Neo, and his wife from the city of Pompeii, which was buried in volcanic ash in 79 A.D. Here we can see the scroll held by Terentius and his wife is holding a wax tablet. Which provides evidence of the two structures used at the same time.
There are many similarities in the functional aspects to the early codices, despite the differences in the material. Both have a rectangular format with leaves (you can write on both sides of the leaf) and these are connected along one of the long sides permanently yet flexibly so they can open and close.
The construction of the tablet was relatively simple, tablets could have two tablets (known as a diptych), three tablets (known as a triptych) or multiple tablets hinged together (this was called a poliptych). Holes or channels would be put into the spine edge to allow for fastening the tablets together. Some might have even had fasteners at the fore edge or head and tail of the tablet.
Let’s take a look at how it’s made!
To begin we learned how to (and practiced) carving a shallow space into a block of wood. By rubbing charcoal over the block we could see where there were ridges that needed to be smoothed out. The goal was to get something that was as flat as possible.

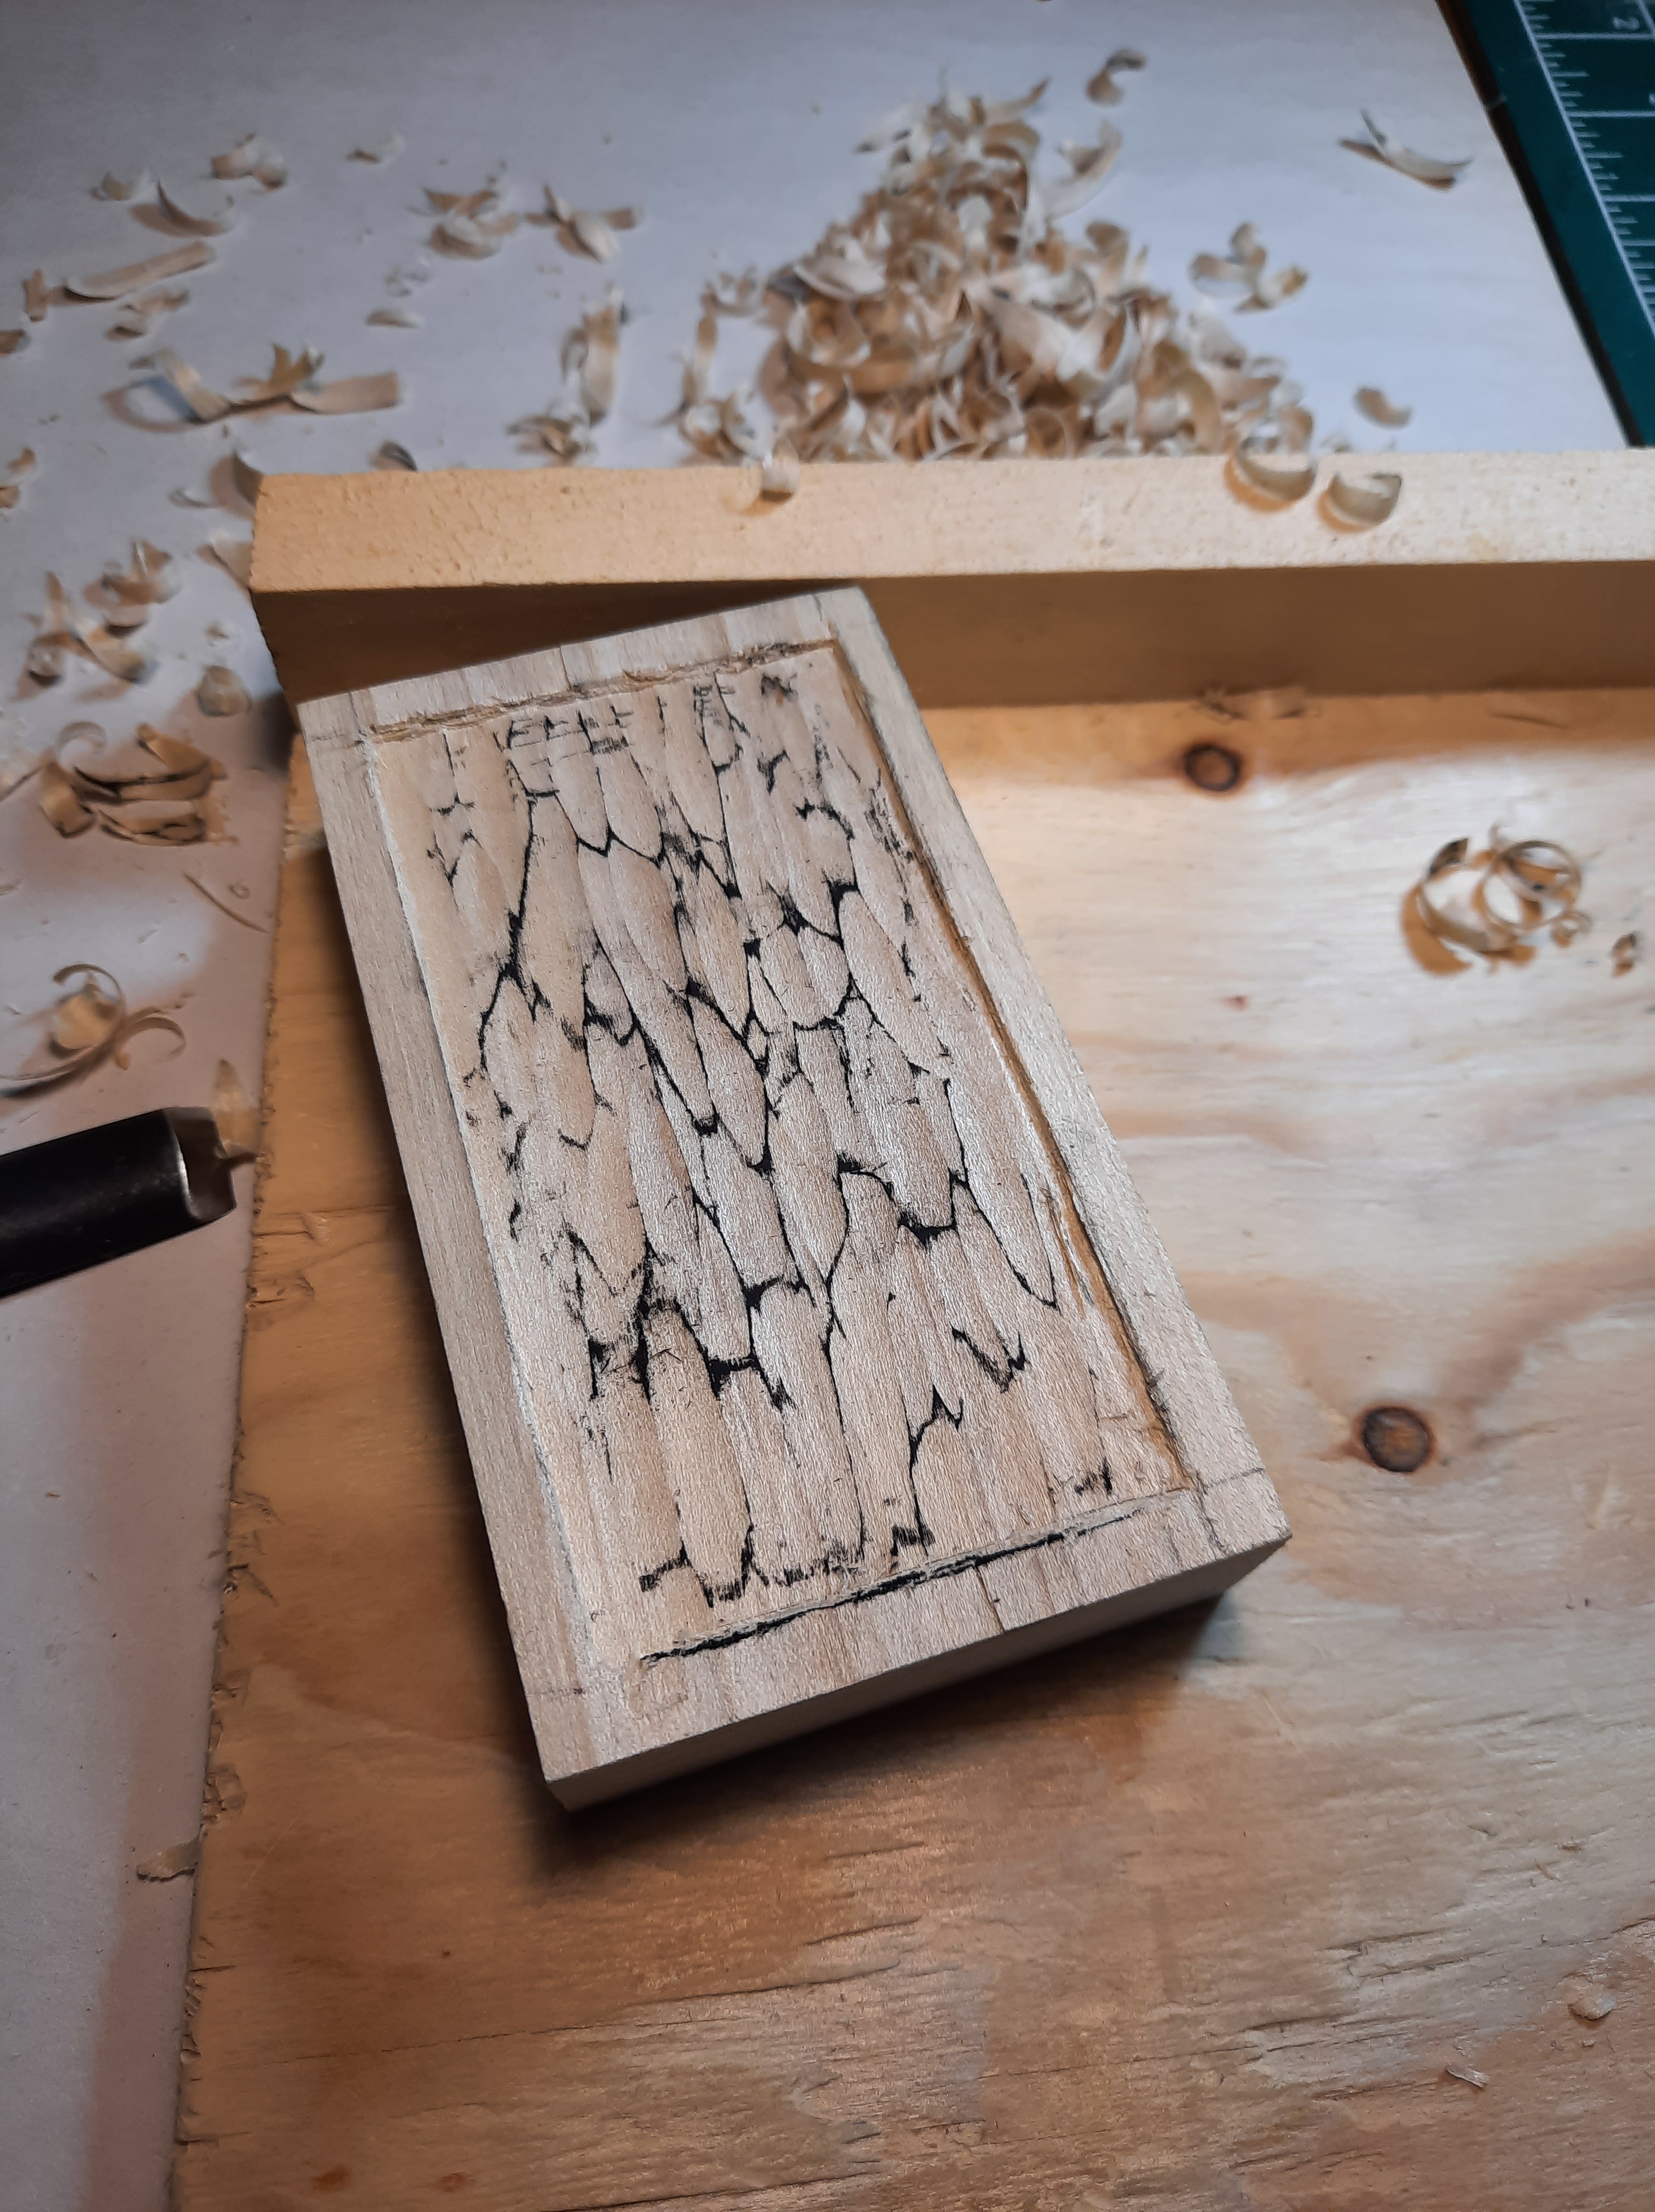
After practicing we went to work on the wood that we were going to use for the project: quartersawn oak. It was much tougher to carve into oak but with patience we got it!

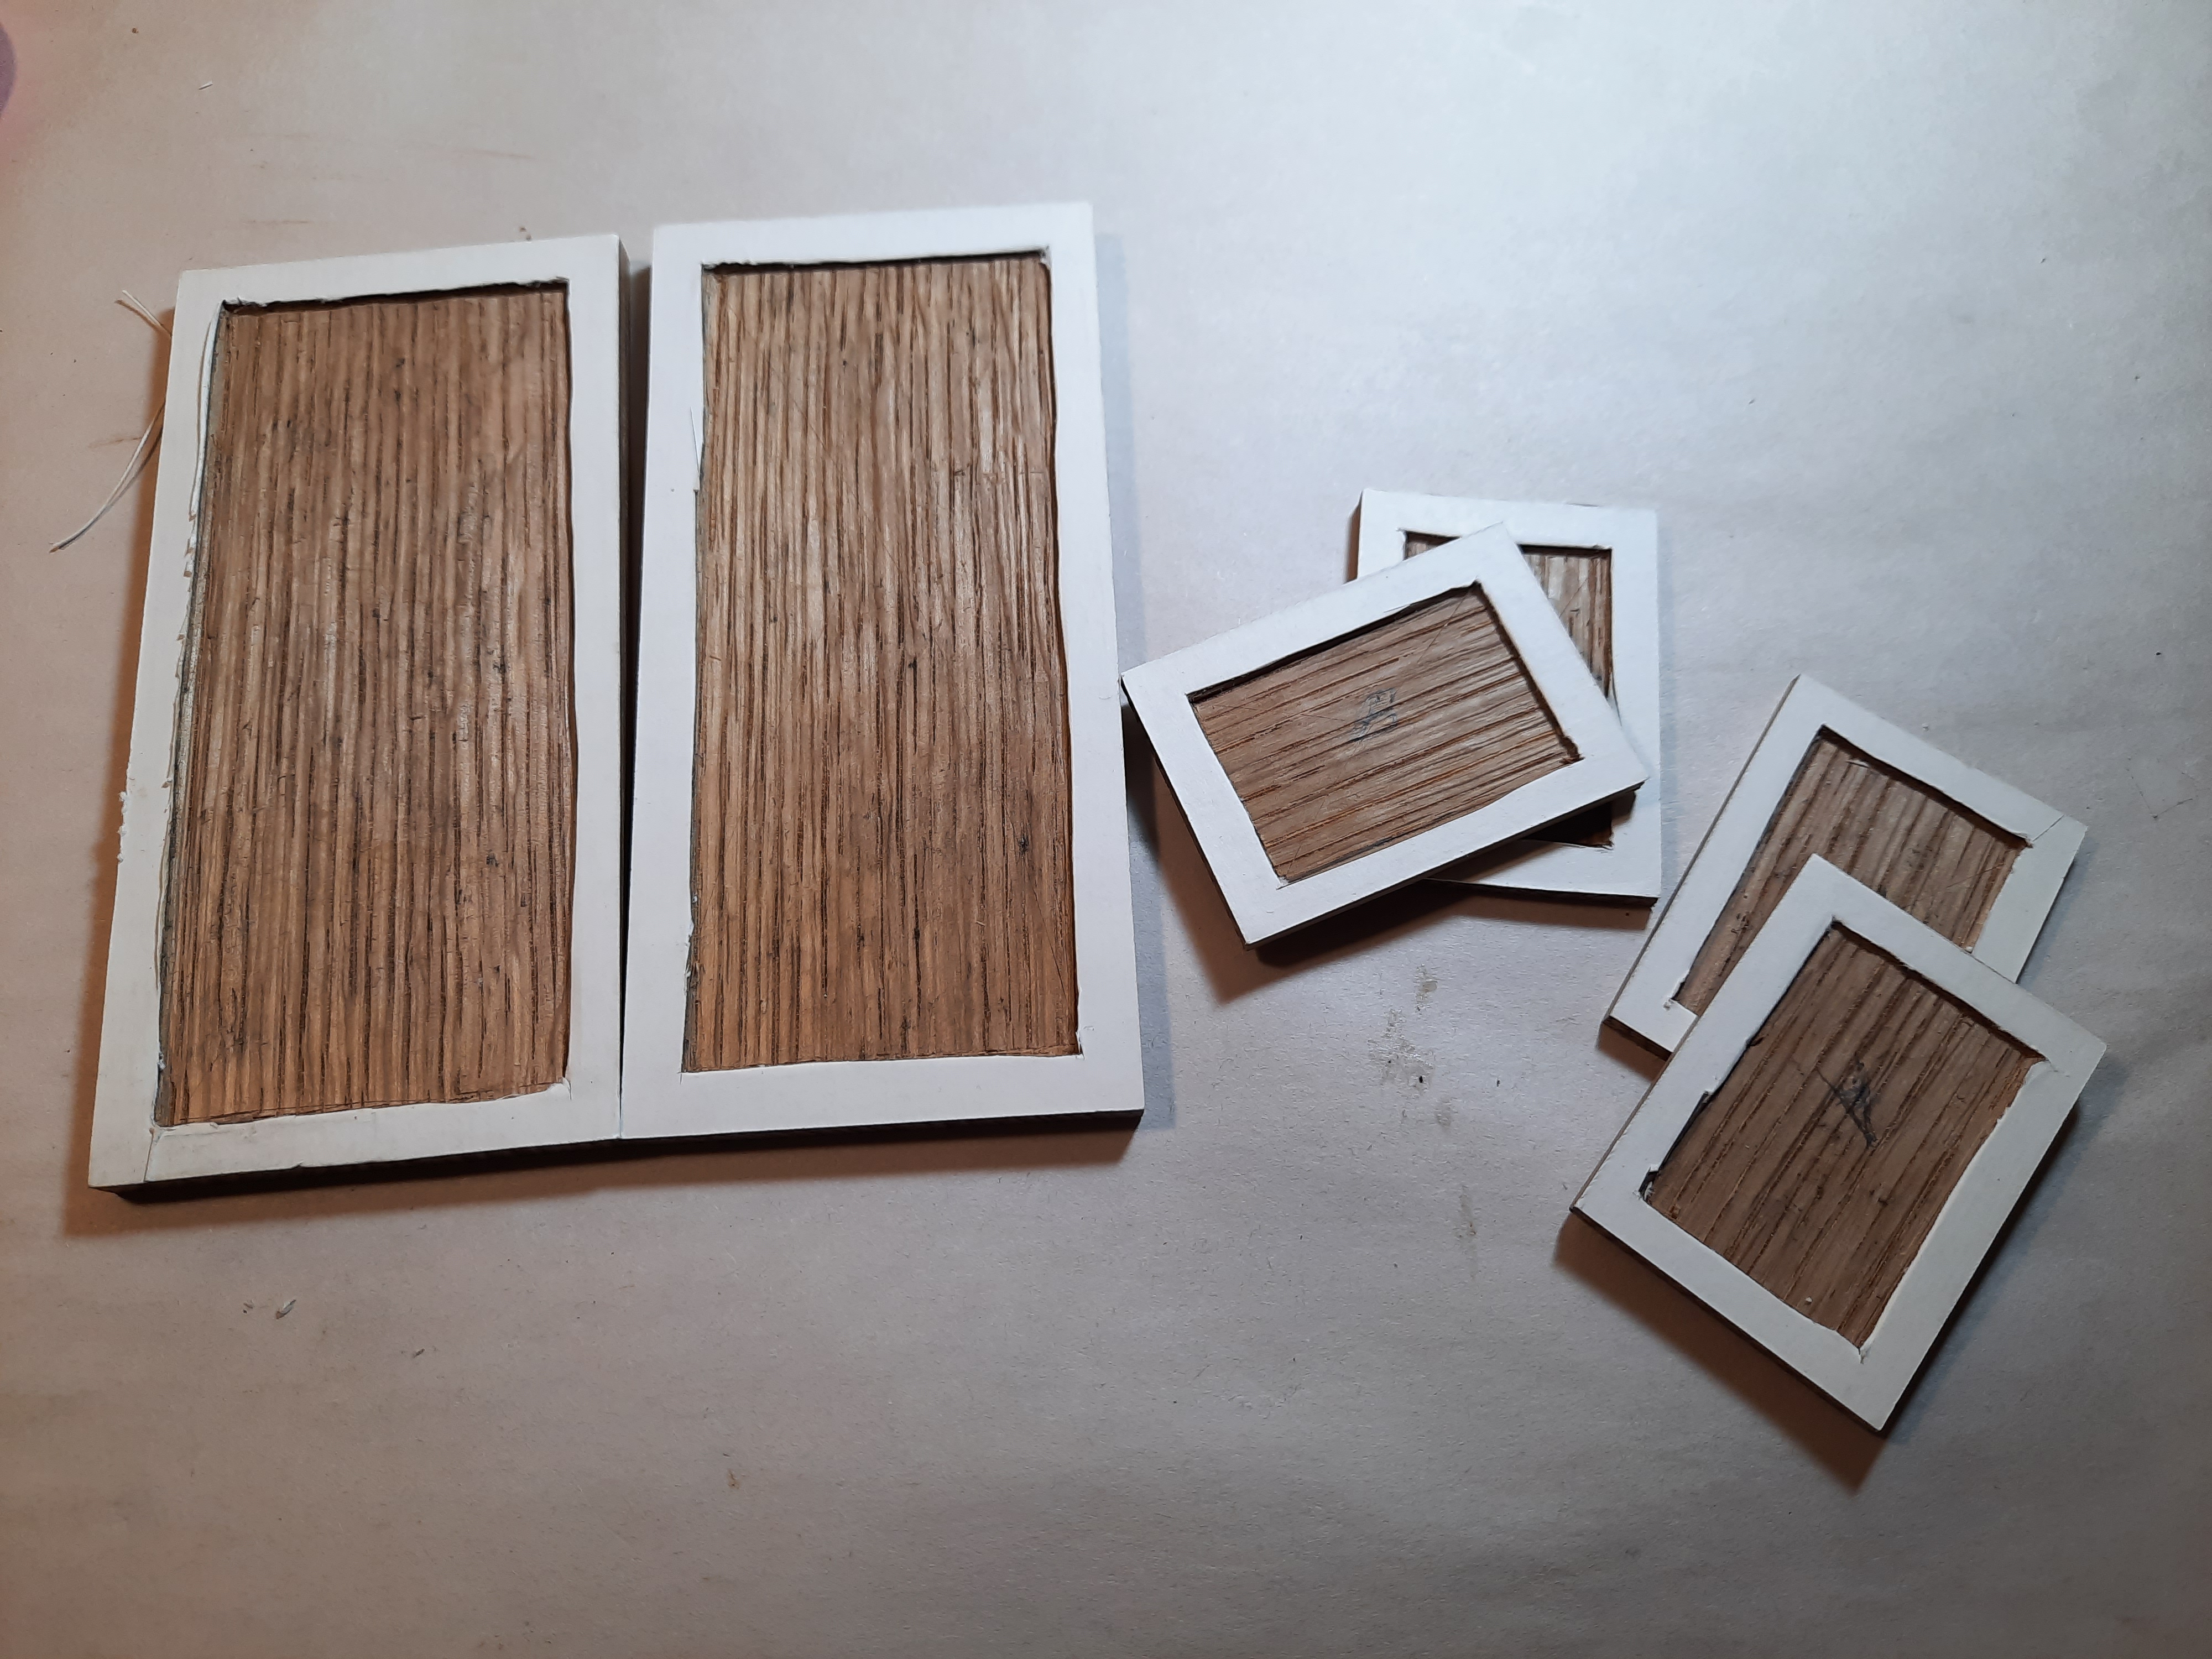
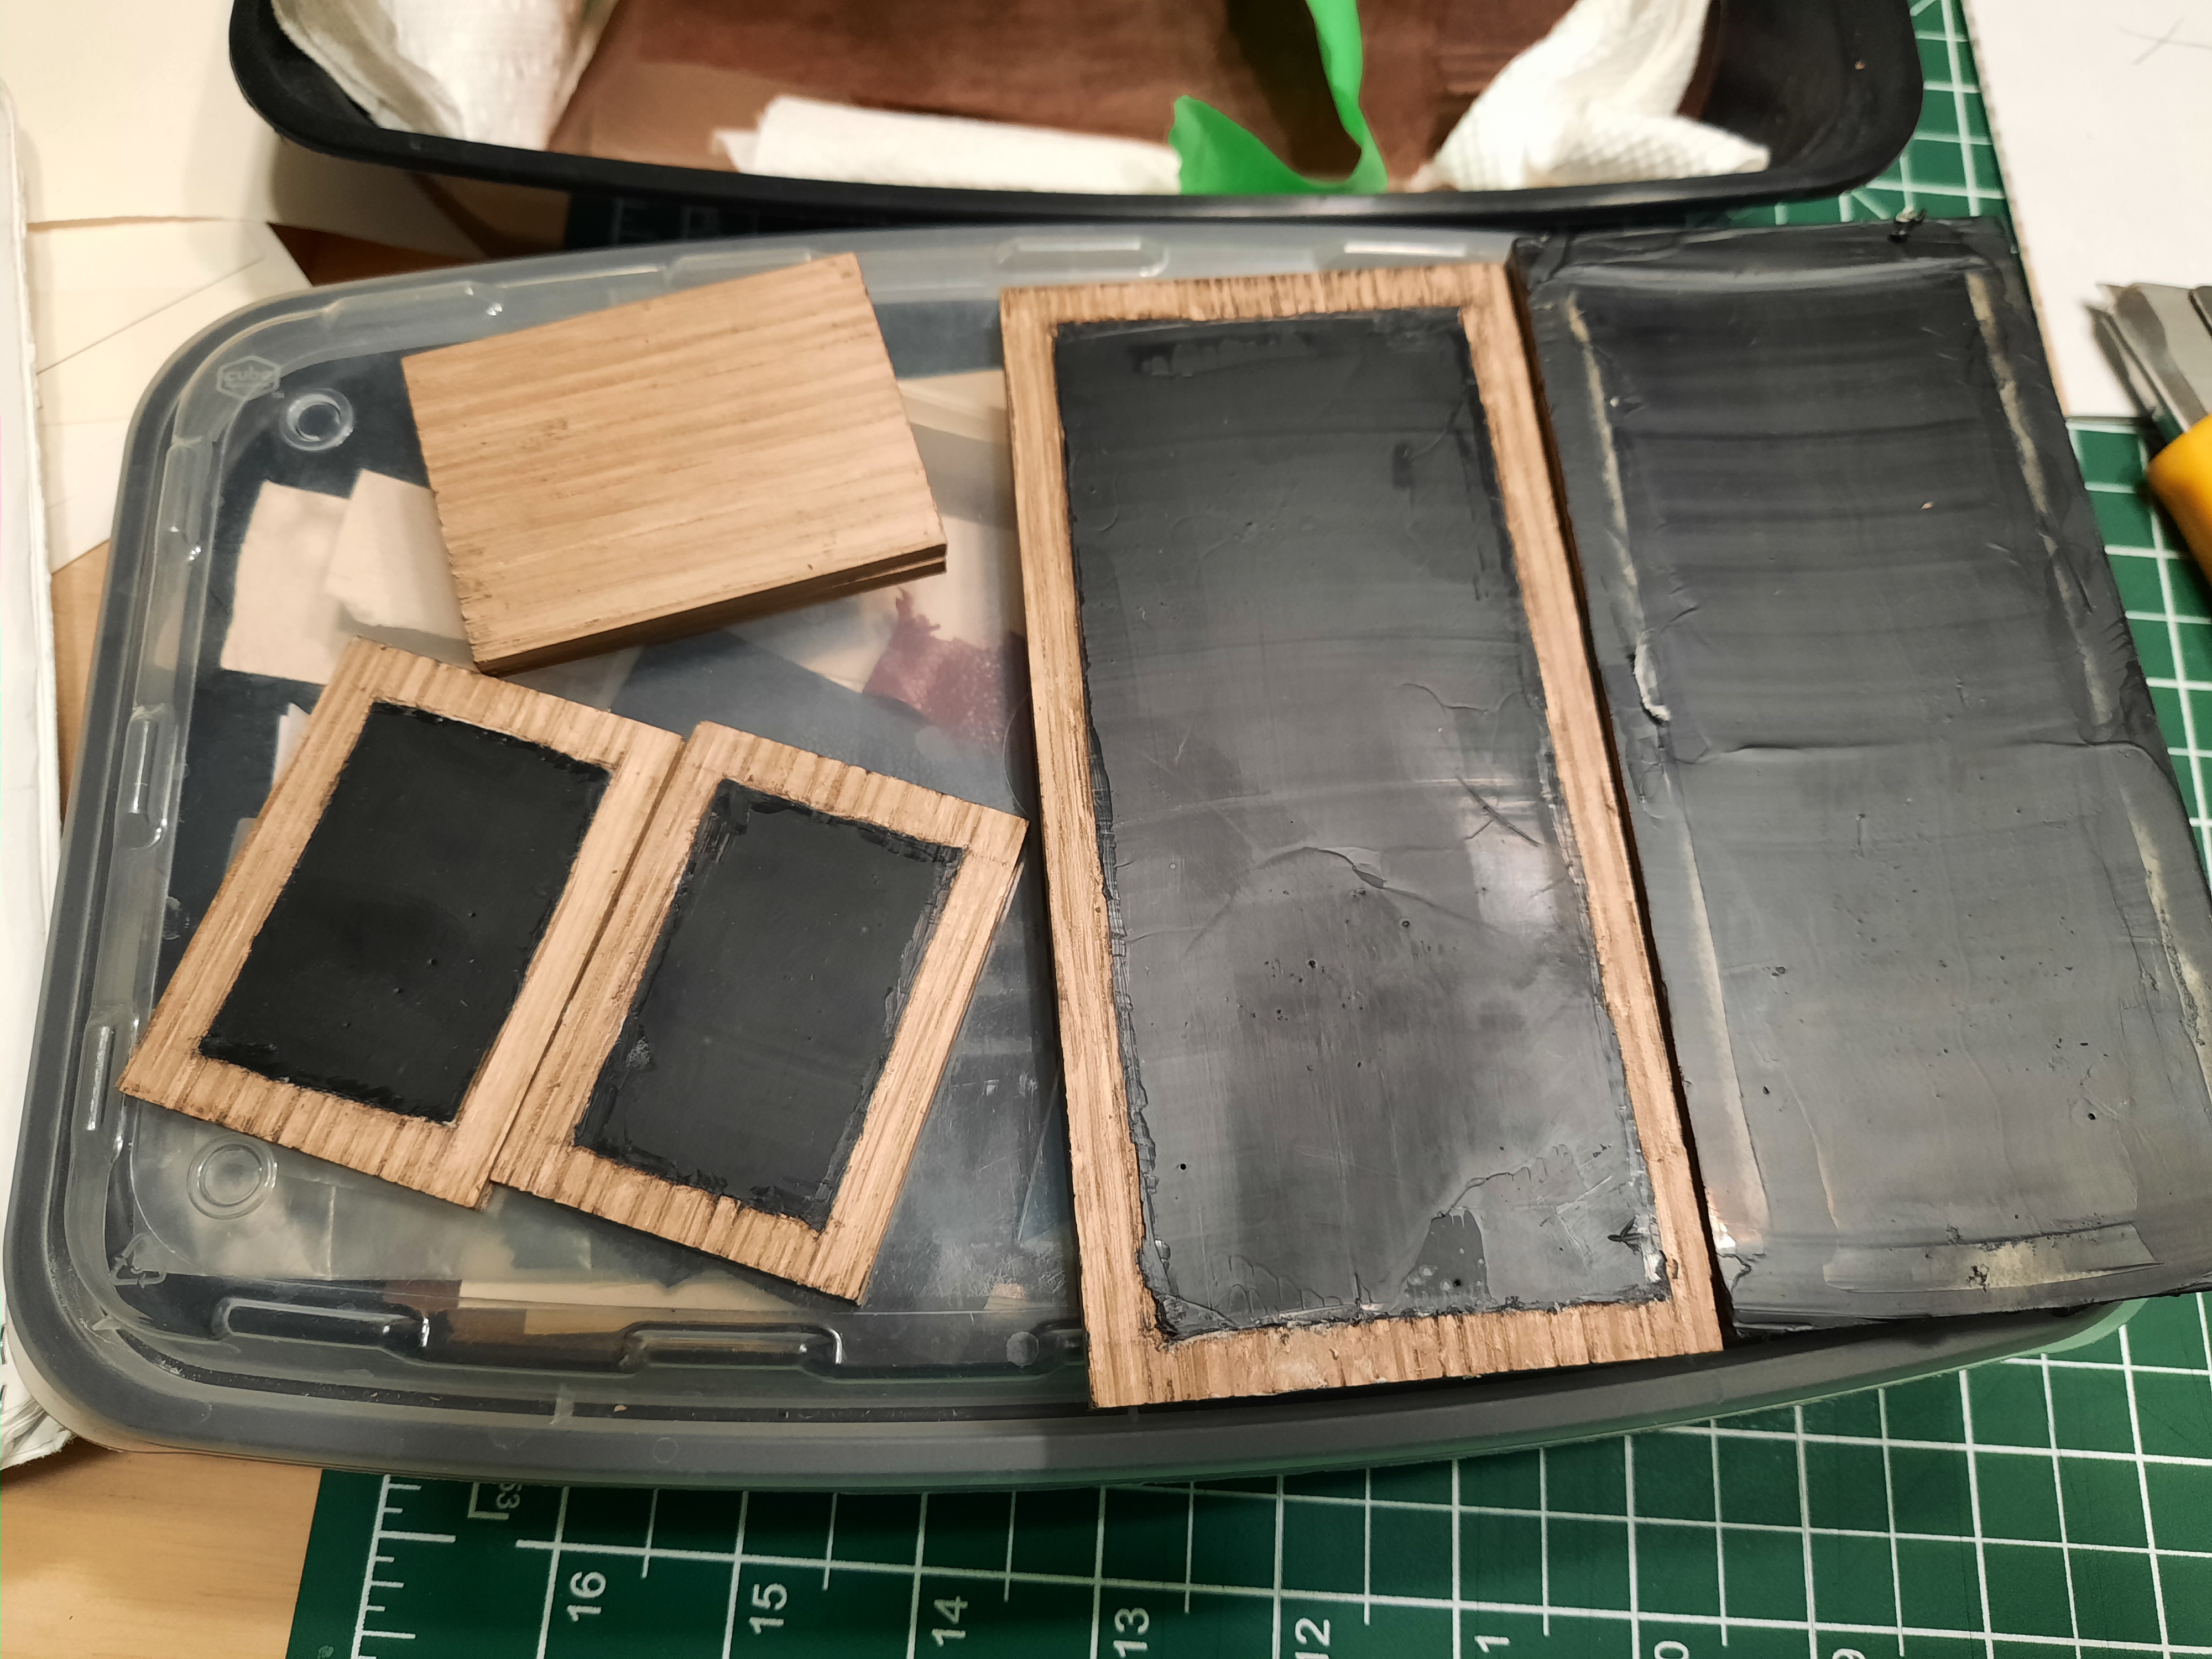
Once we were happy with how it was carved, it was time to fill it with wax. My teacher attempted it first and ultimately decided to keep the edges of tablet clean it would best to line it with paper. Of course I am sure they didn’t do this in the past! We then melted beeswax, added a carbon pigment, and poured it into the tablet. After spending some time smoothing it out we could remove the paper border.
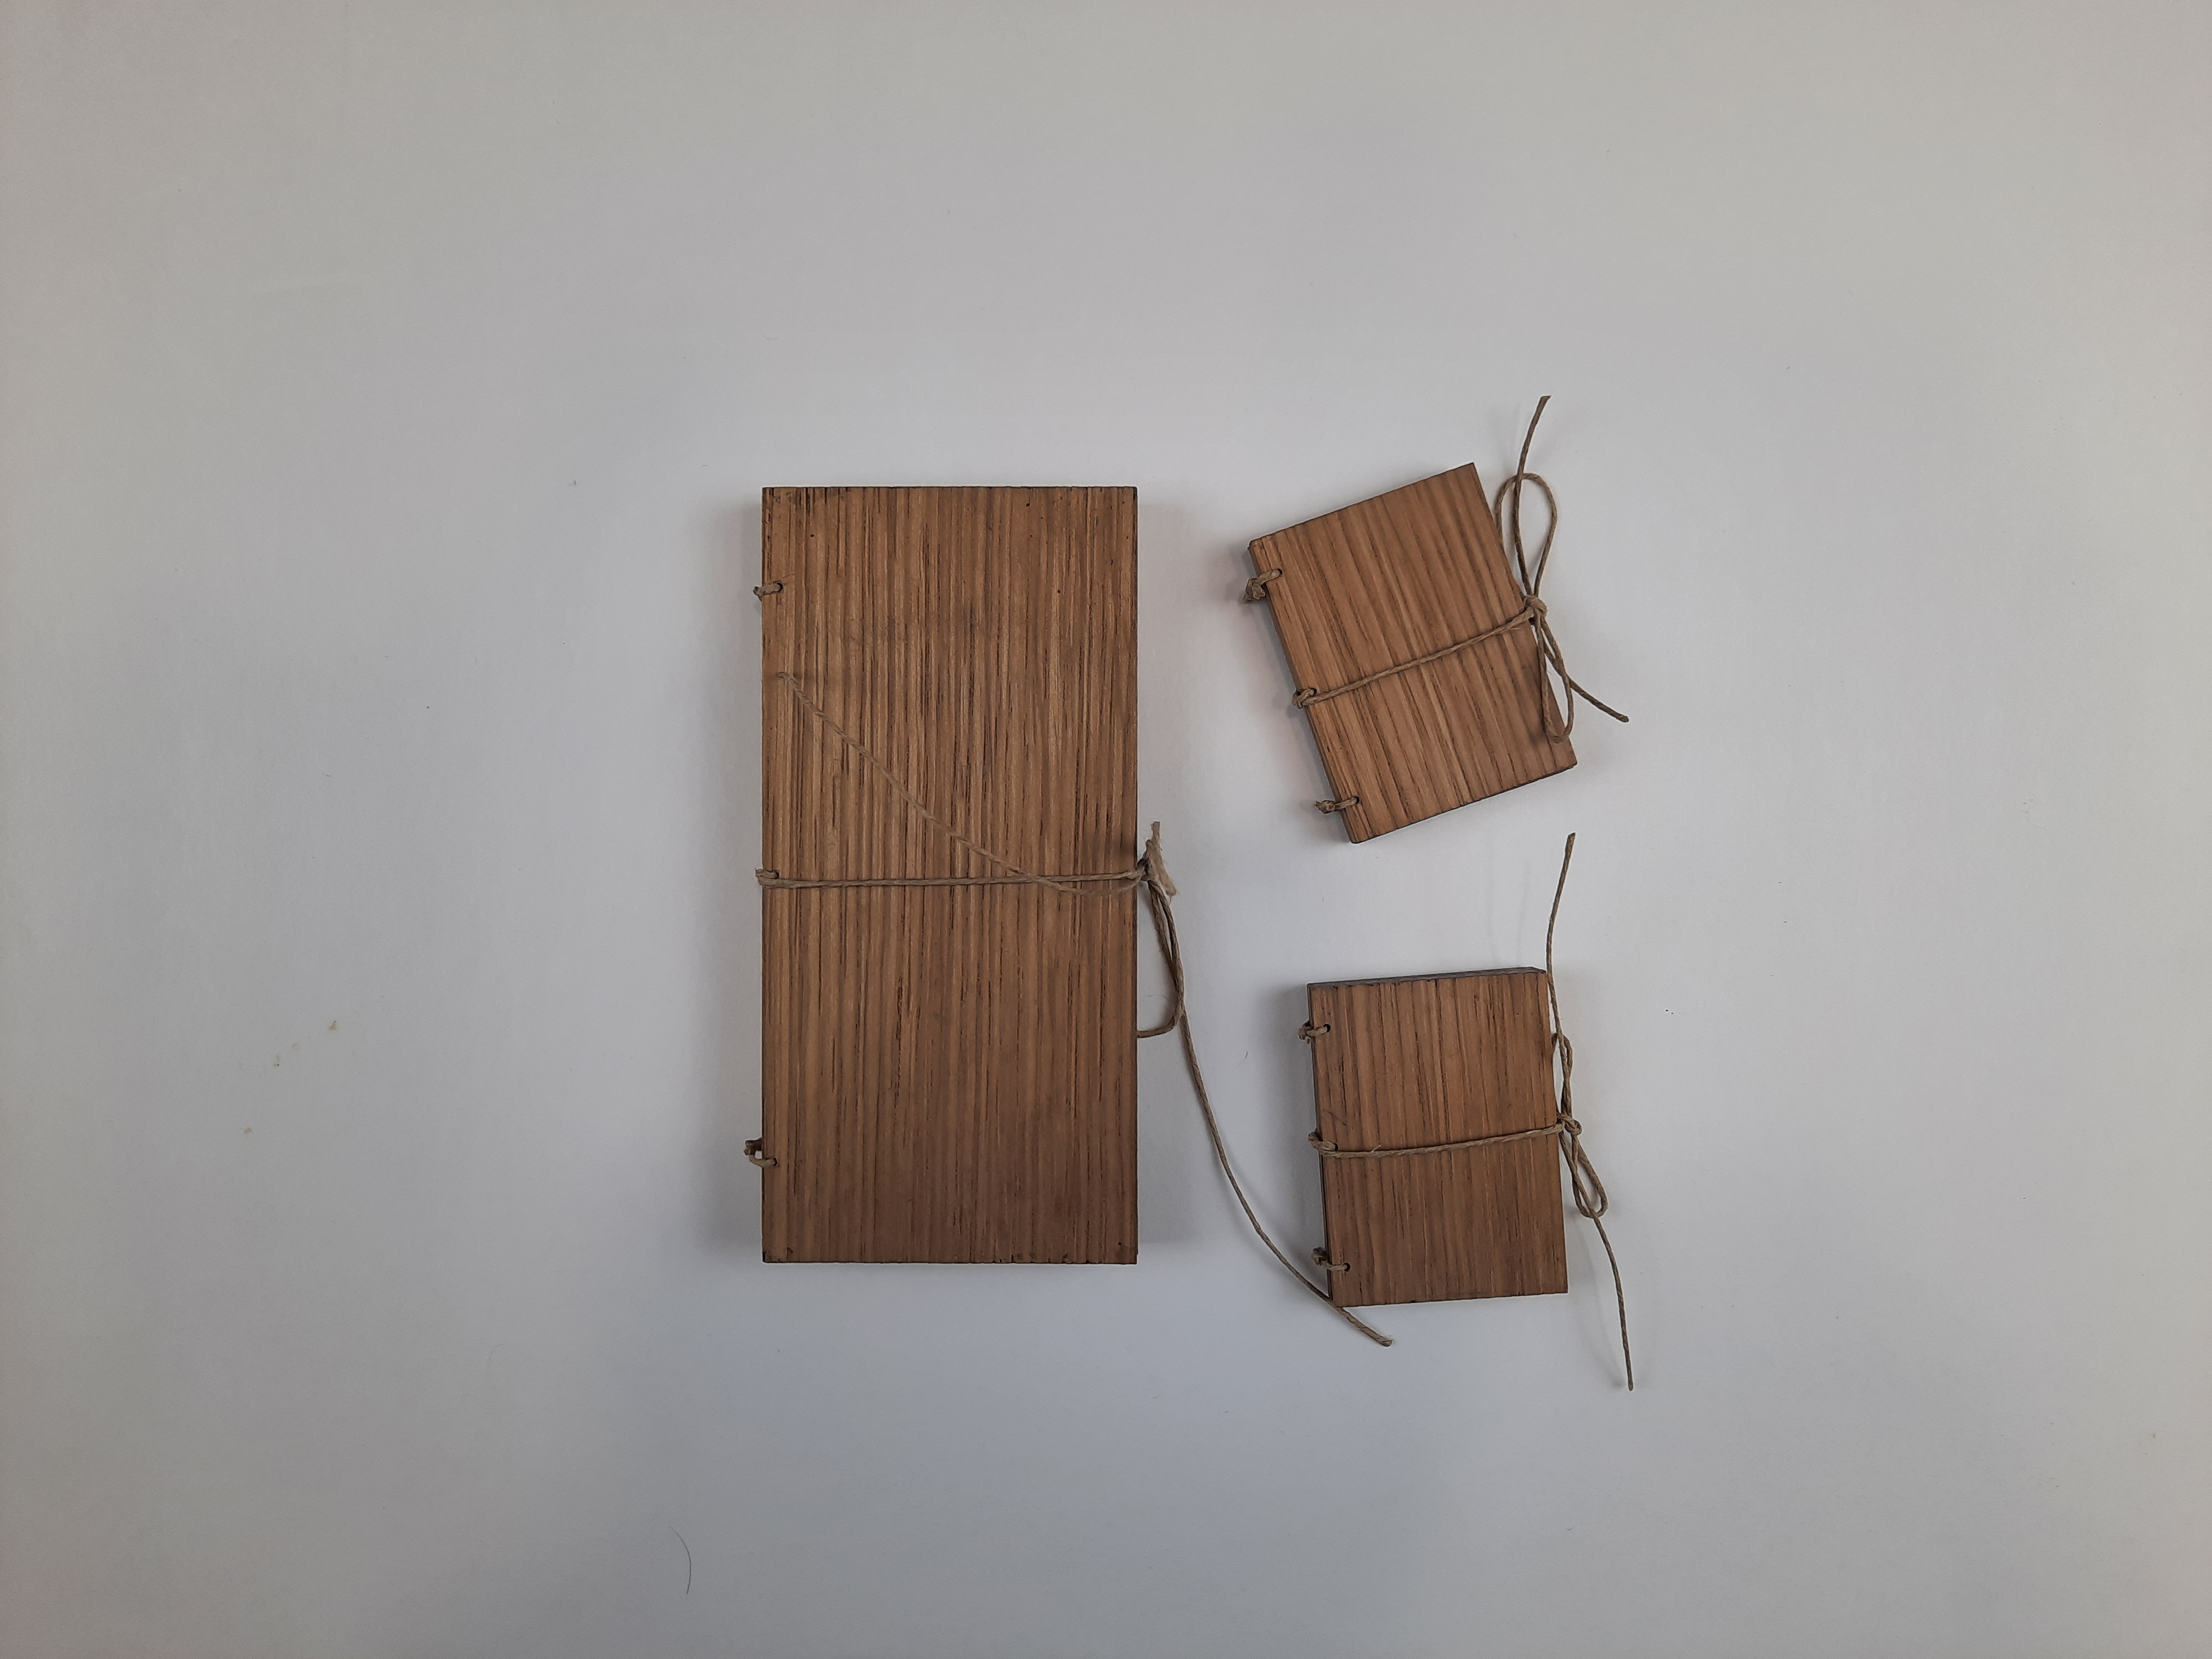
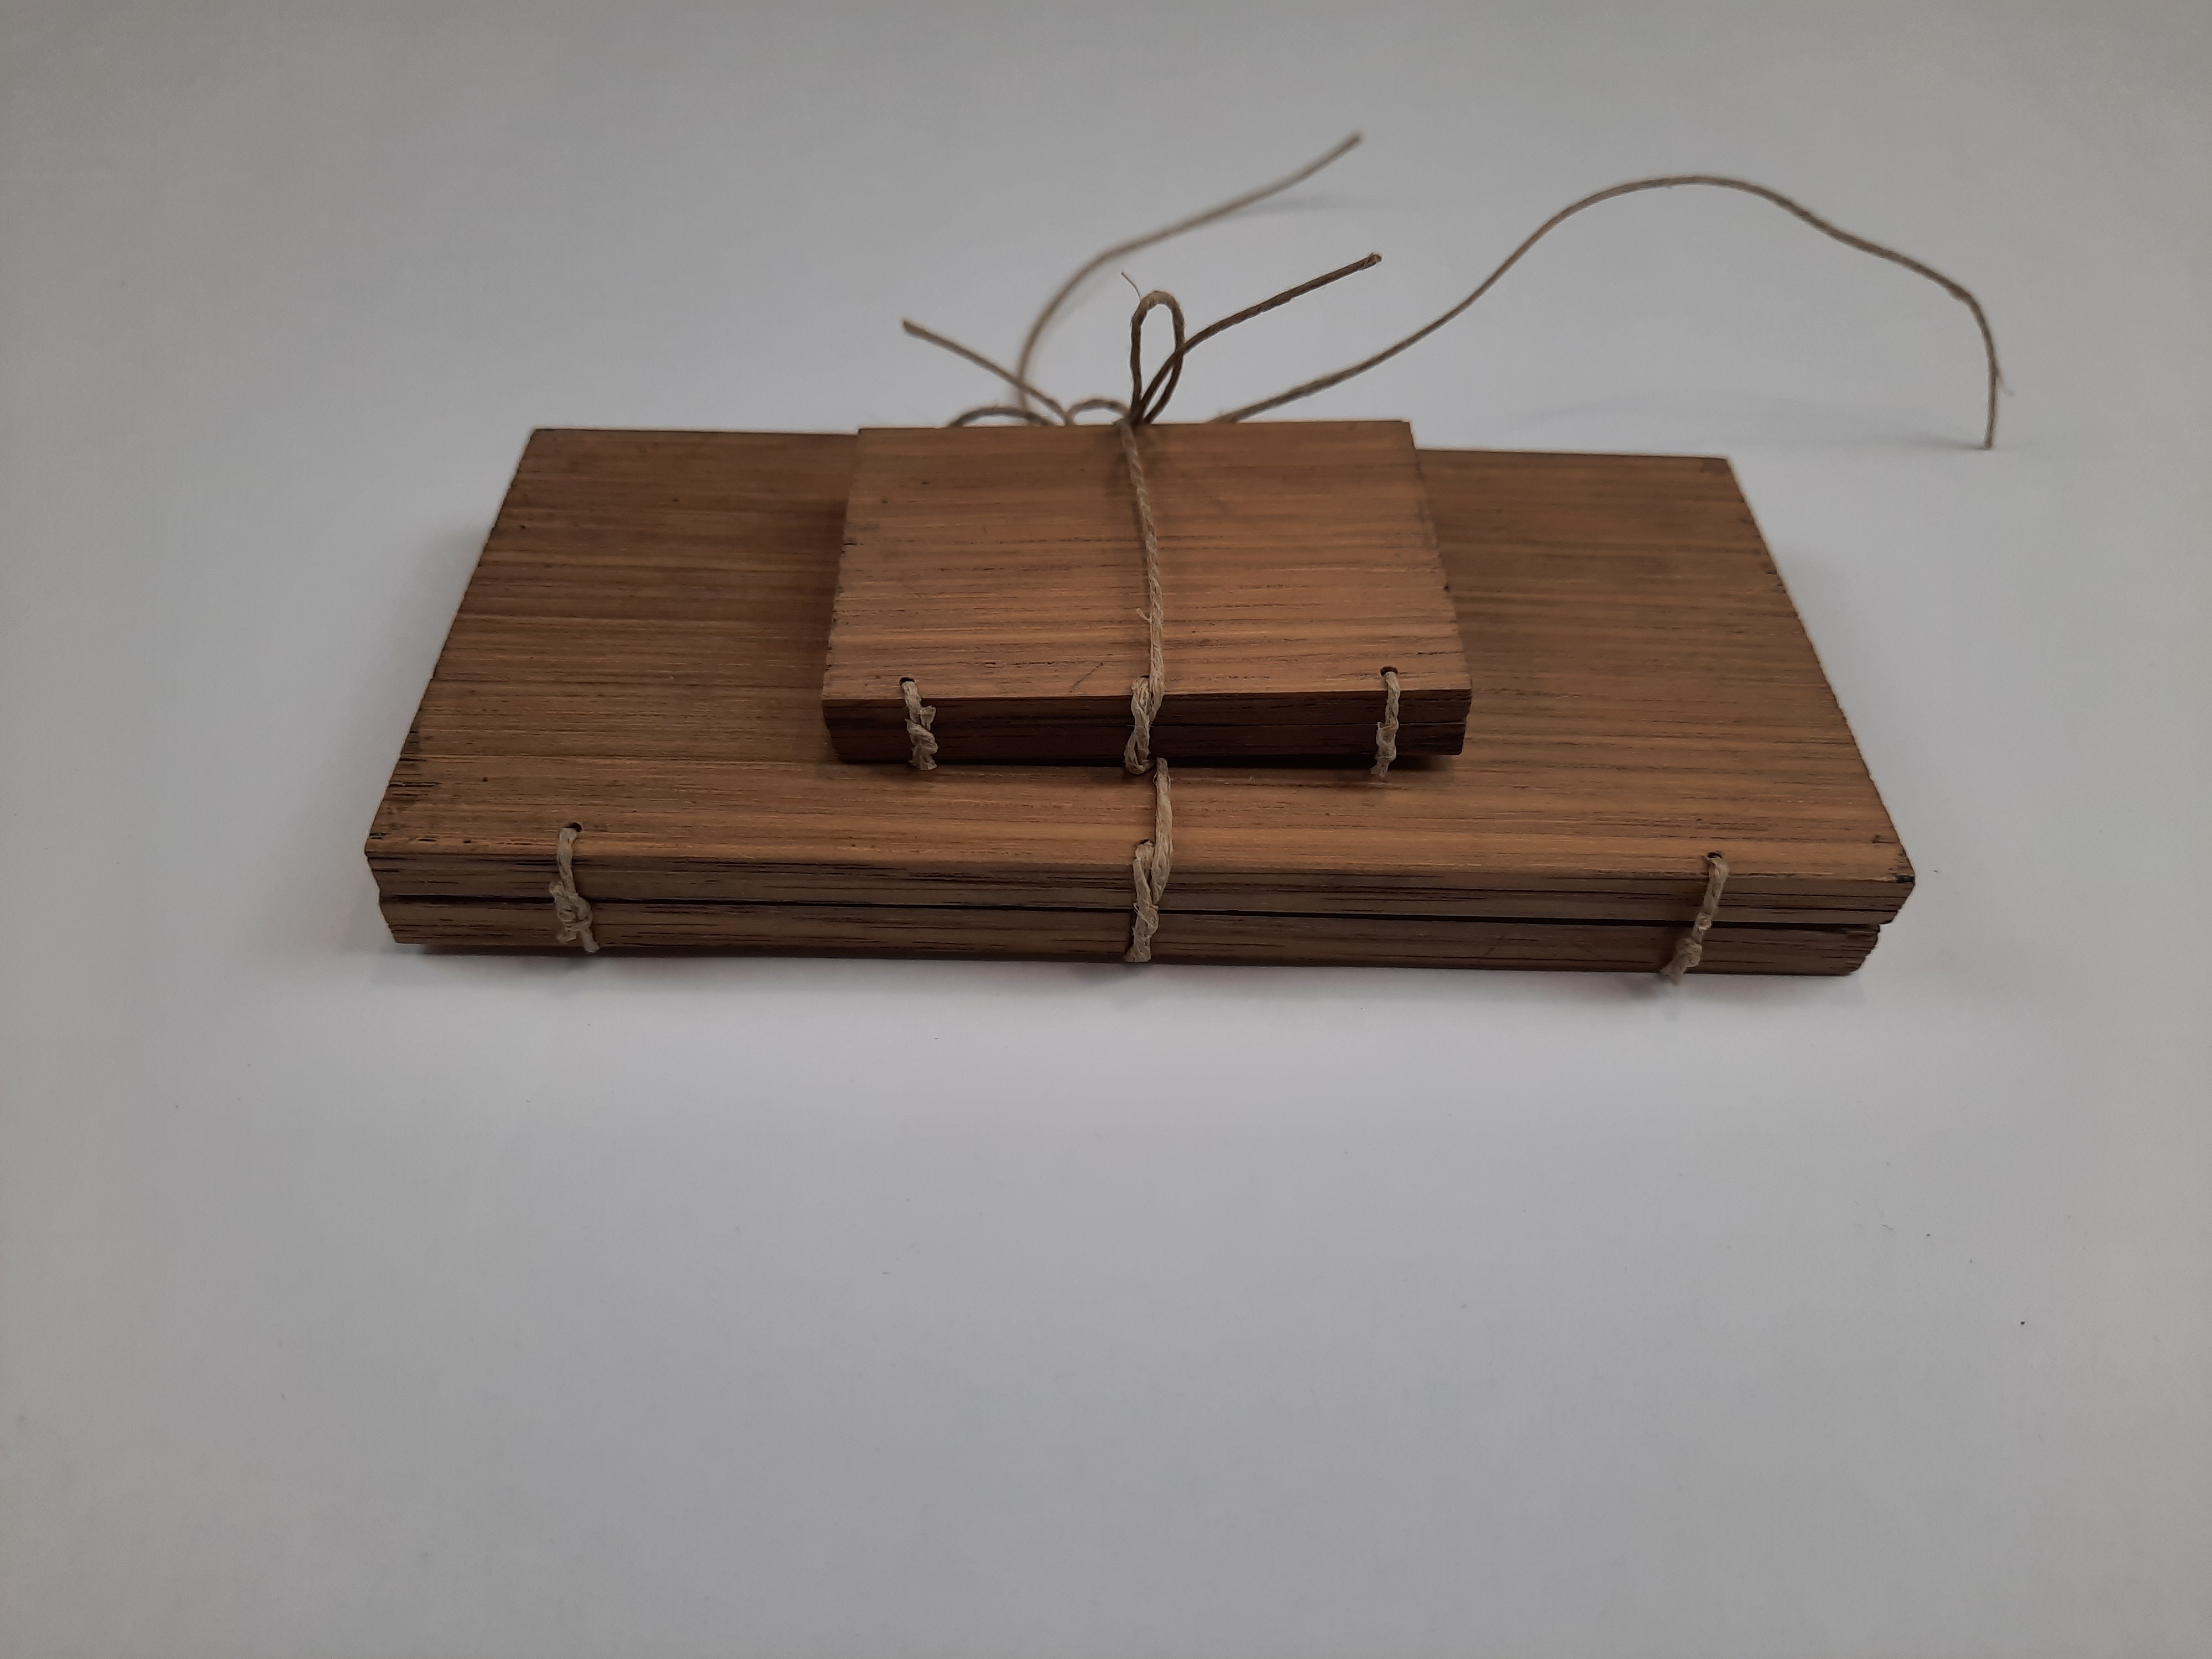
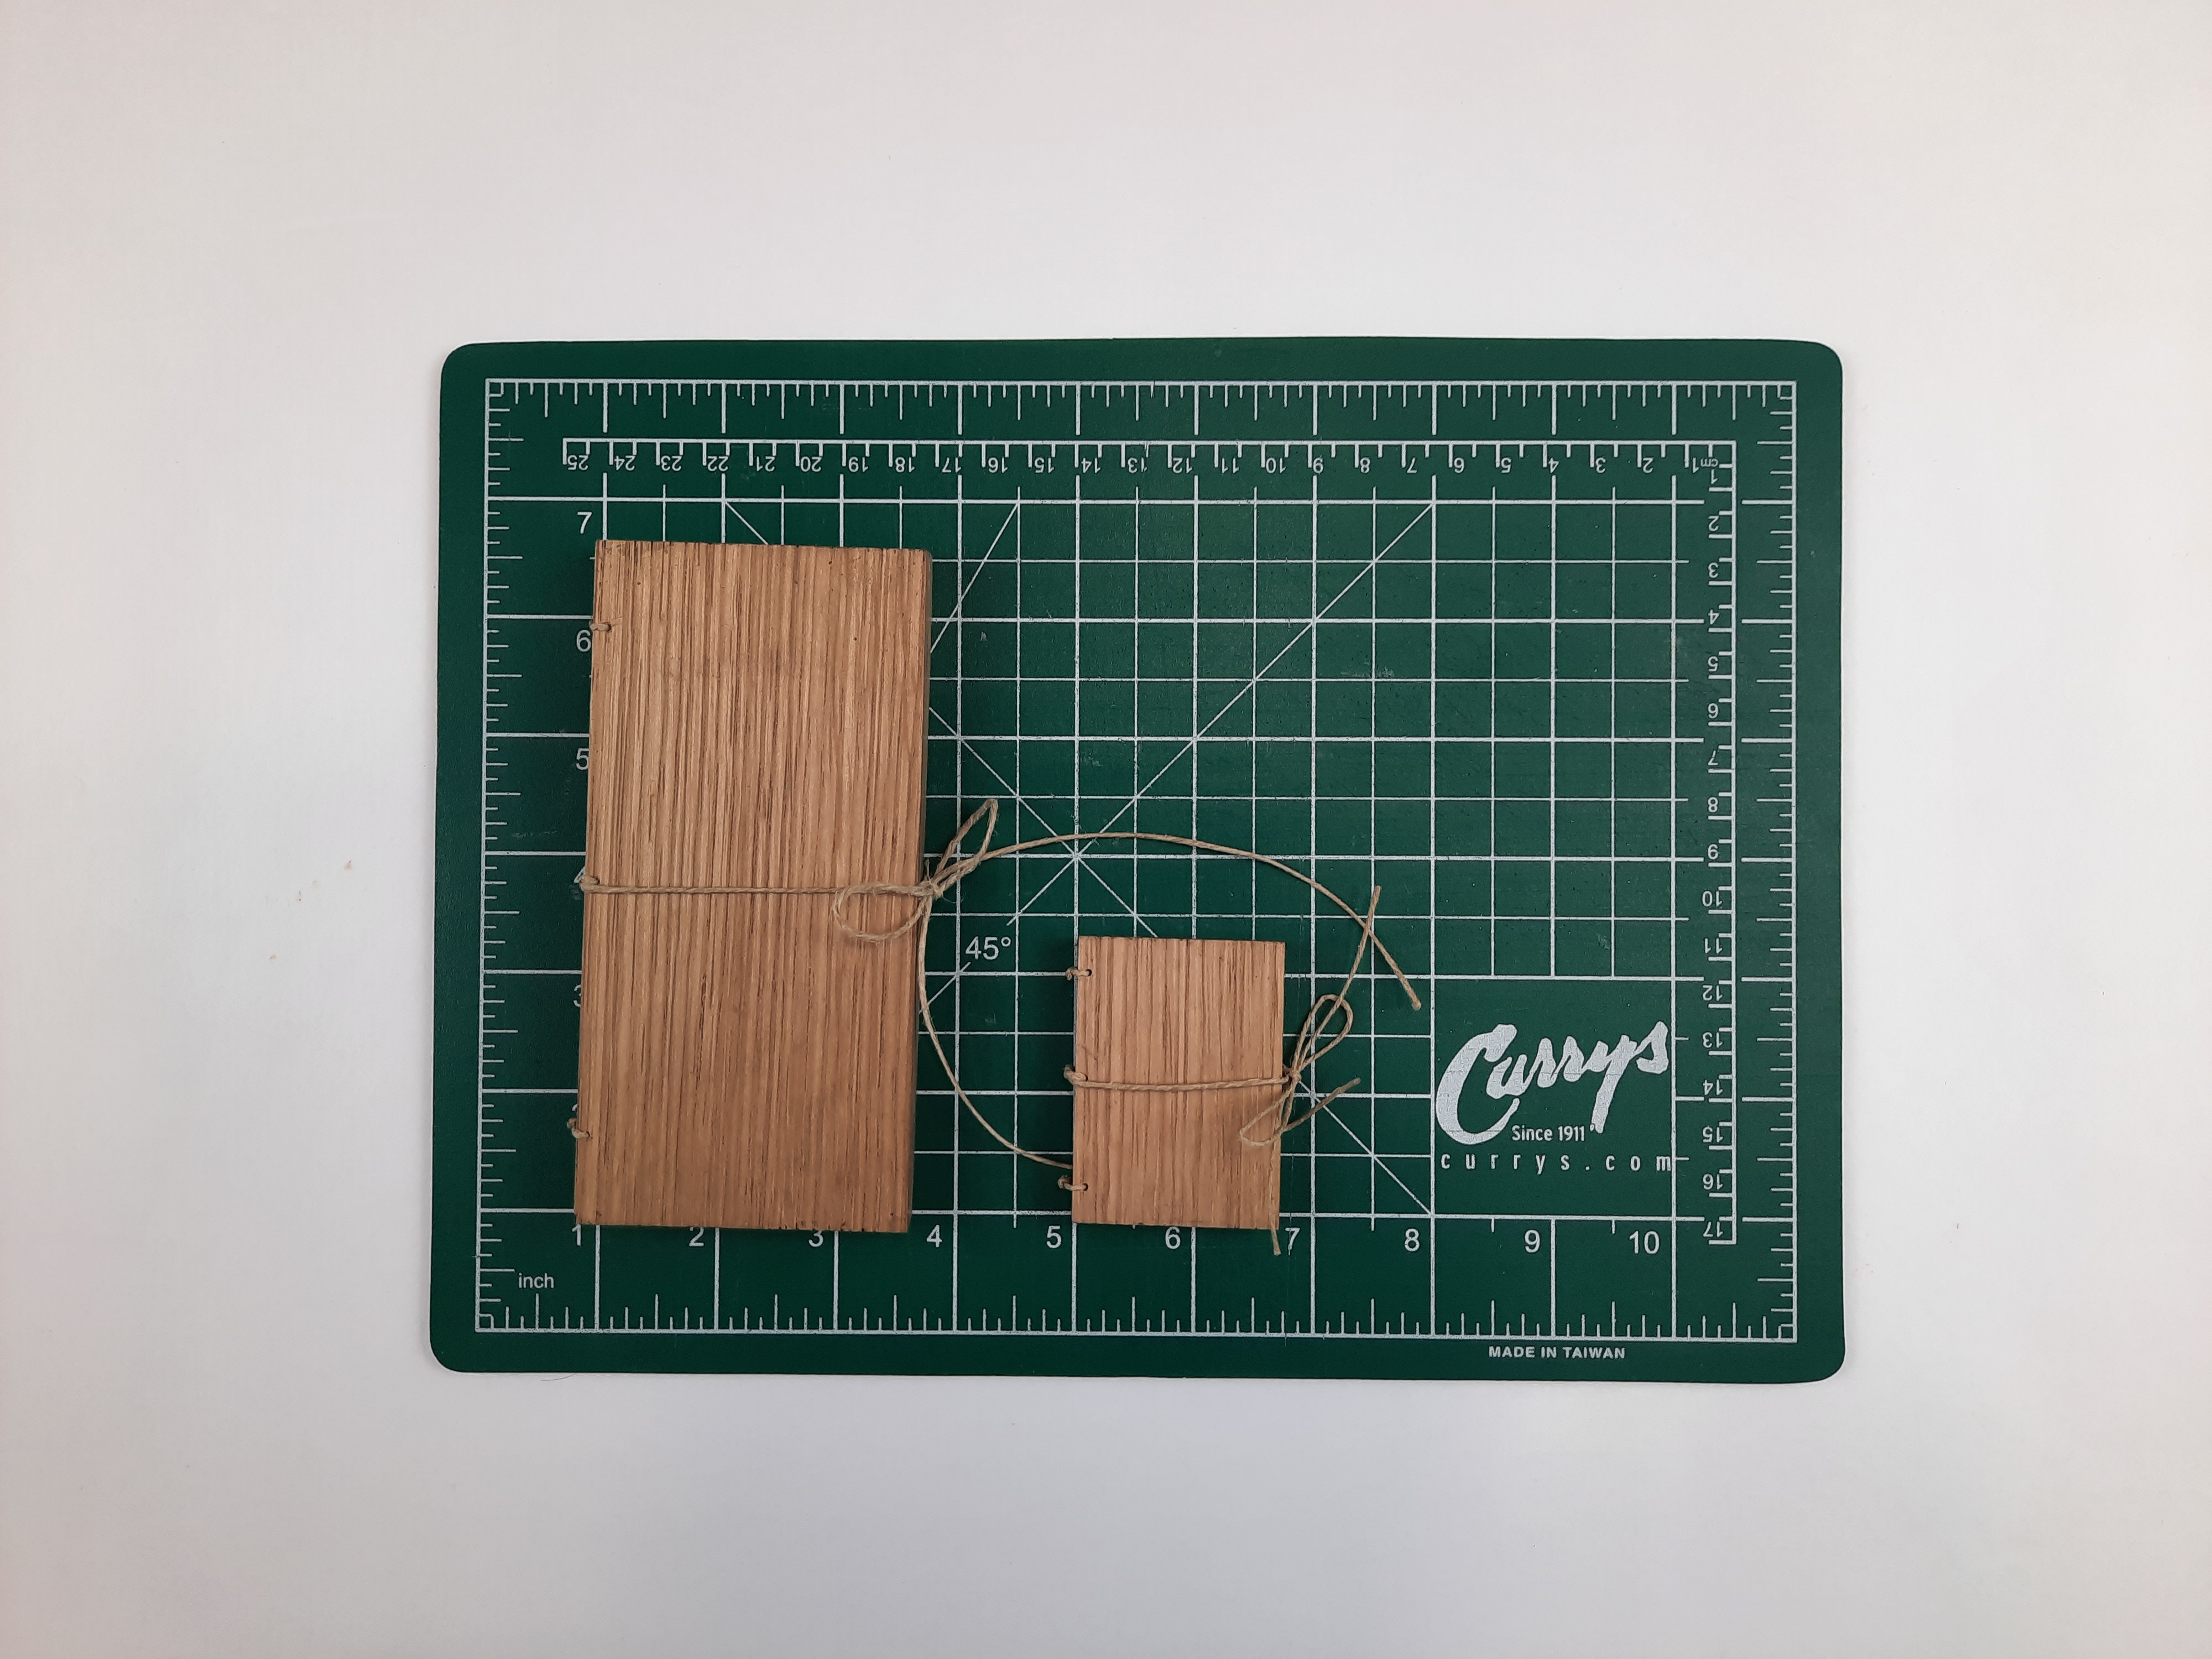
The last step was to add hinges by drilling holes and lacing in a thin cord. We also added a length of cord would be used as a tie for the tablet. And then it was done! Take a look at the finished pictures:


Next up up for the blog is the Gothic binding! The Gothic binding took a lot of work, it was our most time consuming one yet.
Until next time,

Reference: Szirmai, J.A. (1999) “The Archaeology of Medieval Bookbinding”.
If you are enjoying this content and would like to help support my bookbinding journey please consider a small tip! I’m currently saving up for a working miniature nipping press.
Support my journey though: https://ko-fi.com/ariellesbindery

One thought on “Historical Bindings Project: Wax Tablet”