
Earlier this year my friend self-published her first book on Amazon! I decided that I wanted to do something special for the accomplishment and as Christmas was approaching I decided that it would be a perfect gift. It took far longer than I thought it would (good thing I started early) and I certainly learned a few things along the way. In this post I’ll go over the process of making her book, what went wrong, and what I learned!
Printing
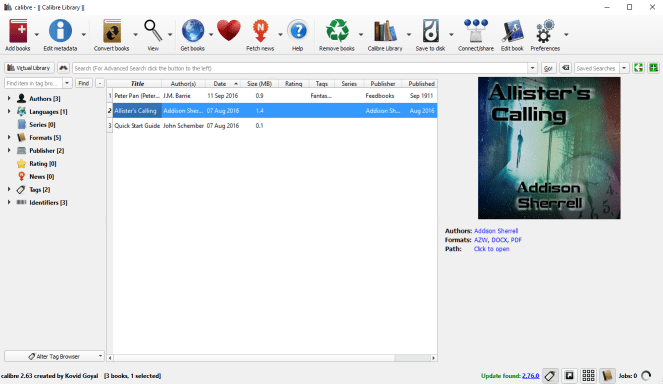
First things first – the book needed to be printed, and it needed to be printed in sections that would allow me to create signatures (these are the printed/folded sections that make up a book which you’ll see shortly in the photos). I went to Amazon and purchased her book (I’m sure she’d have been happy to send me a copy but I wanted it to be a surprise!), coming from Amazon it came in an e-book format which is an AZW file. It only opens in Kindle, which was going to be a problem. A friend pointed me in the direction of Calibre – which is an e-book management program. It allowed me to convert the AZW file into a DOCX and PDF.
After this I opened it in Word and began to work on formatting. I adjusted the margins, added paged numbers and made sure that things fell into proper places on the pages. I also used “book fold” for the page setup, which put the pages into the proper size and format for creating signatures. From this I made a PDF (this was to ensure that all the formatting I did would stay put!) and while I am sure I could do this in Word I used another program called PdfBooklet, which allows me to determine how many sections I want and how many pages in each section – it actually allows you do quite a bit. There are a lot of programs out there that will allow you to do the same. Below is a screen shot.
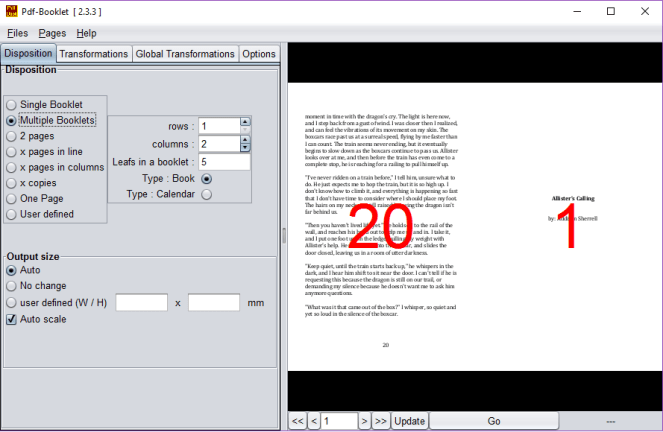
As you can see in the screen shot, the title page is on the same paper as page 20, so when it’s folded in half and the rest of the papers of the section are in the middle, it creates a booklet. After this was organized I ran it through my printer, making sure everything was double-sided properly. This sounds pretty simple and straightforward now but trust me it took a few attempts to get it just how I wanted!
Binding
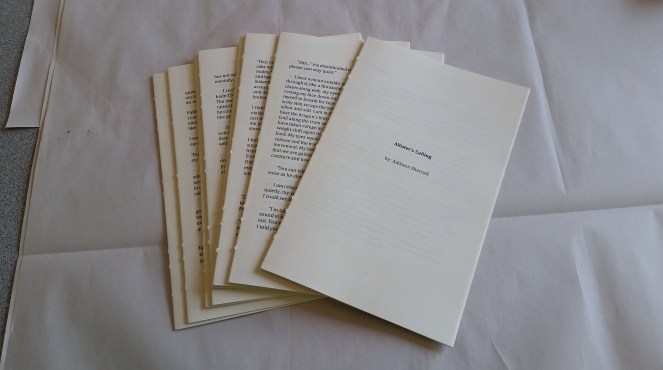
Part two! So, after everything had been printed I divided the pages into their sections, folded them and then pressed them. In the photo below you can see the sections (called signatures), there are eight in total. You can see the holes as well that I have already punched into the signatures, this is for sewing them together!
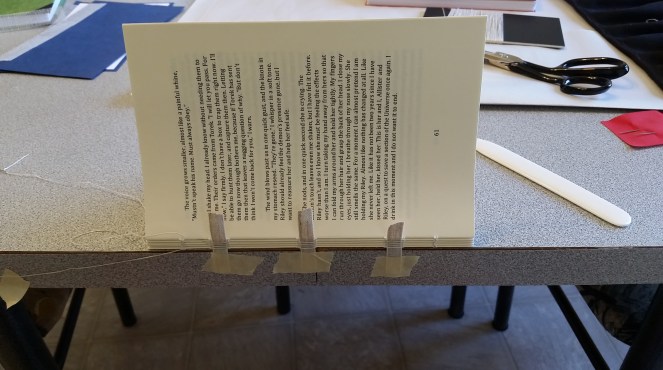
Once the signatures had been pressed and punched with holes, it was time to start sewing! I sewed on tape (the cloth strips you see there in the picture below), this gives the textblock support (we learned this in level 1).
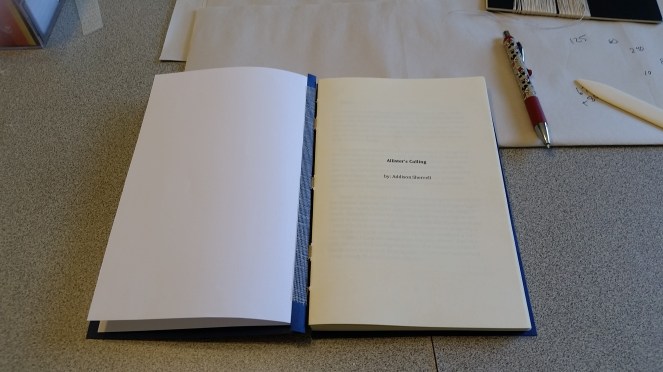
Once the signatures were all sewn together I added the endpages and flyleaves.
And here is where I stop taking pictures. A friend of mine comes over to do bookbinding with me so while I was working on this book she was working on one for herself and I was working on a blank book. As we started to get the covers made we ran into a lot of problems and I forgot to take pictures.
At first I wasn’t going to mention the problems to anyone but then I remembered that this blog is documenting my learning and that others who read this could learn from my mistakes! So here they are:
- Shoulders were too big
- Spine was a little too big
- Spine stiffener not thick enough
- End papers not the best choice of paper
Okay so those might seem really minor but they are actually huge. I wish I had taken pictures to show just how crucial some of these are. The spine stiffener not being thick enough meant that the spine warped significantly once pasted down onto the hinge paper. The warp in the spine made it very hard to square the book. It also means the spine didn’t look very neat after the cloth had been put on.
The shoulders being too big means that the spine is also not going to sit right. I actually did remember to take a photo of the book before I mailed it to my friend to show the result of the large shoulders/spine. Below on the left is the head of the book, you can see how the spine is larger than the textblock and as a result comes out to far. The picture on the right is the tail end of the book – it is a bit more center but that only goes to show just how wonky the spine was.


It still functions as a book though and aside from that it looks fine! I was able to get the spine under control a bit and get it to straighten out (the spine board had gone a little concave.) As for the end paper, I used something that didn’t have a lot of wet strength (how it holds up when wet) which meant when it came time to paste it down to the cover it was a little finicky to work with, overall it turned out fine though.
We certainly did learn a lot through this run of making books! It had been a while since we had made them and mistakes are bound to happen every once in a while.  At least we can learn from them! As you can see they turned out looking pretty nice and they all still function as a book which is the important part.
The red book was the most problematic and required a lot of thinking at times on how to solve the problems – mostly it wasn’t square but if things aren’t square it makes everything a lot more difficult! The middle book is the one my friend made and the blue on the end is the one I made for my friend.
Here are some more finished pictures of the blue book:


Overall I was pleased with it; things could have been done better but as I said, they are learning mistakes! They don’t prevent the book from being a book and so I was content to still send it to my friend for Christmas – she loved it.
If you’re interested in her novel you can find it here on Amazon.com: https://www.amazon.com/Allisters-Calling-Addison-Sherrell-ebook/dp/B01HQKQ30M
If you have any questions about any steps of this let me know, I’d be happy to answer them.
Have a Happy New Year!


One thought on “Binding Allister’s Calling”